
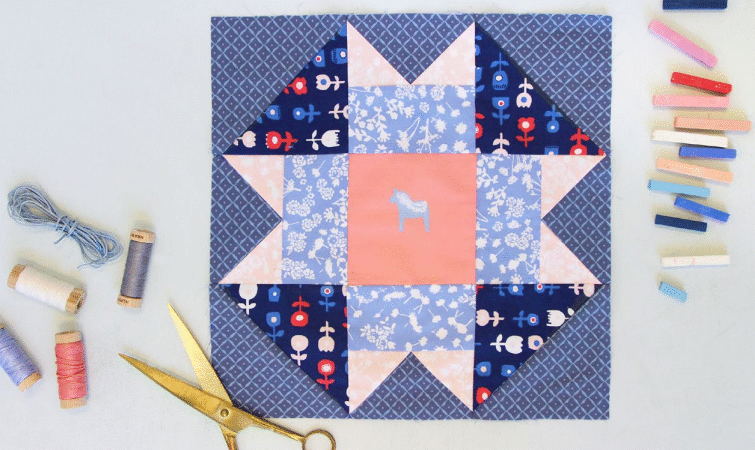
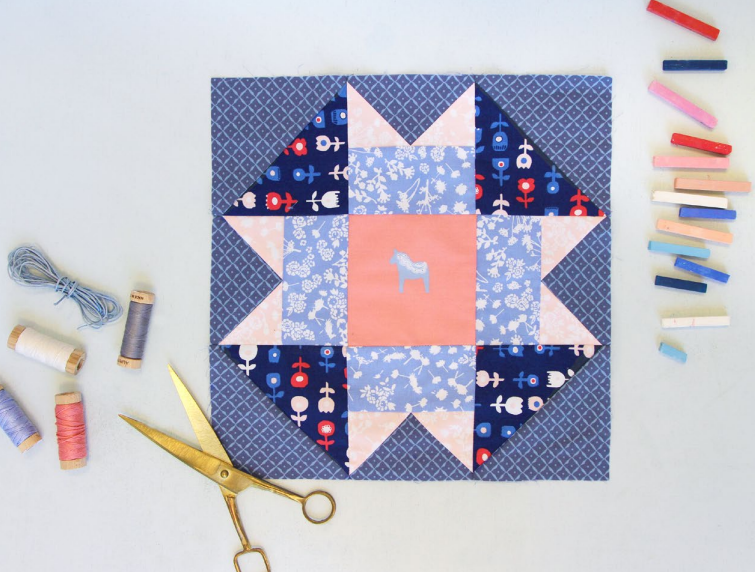
Quilting is a beautiful blend of creativity, precision, and tradition and few techniques capture this balance as perfectly as the Folded Corners Block Pattern. Whether you are an experienced quilter or just beginning your journey, this block offers a satisfying combination of simplicity and visual impact. With clean lines and crisp angles, it creates a polished look that works beautifully in both modern and classic quilt designs.
The folded corners technique is widely used across quilting because it allows you to transform simple squares into dynamic shapes without complicated cutting. By sewing smaller squares onto the corners of larger pieces, you can create the illusion of triangles, stars, or directional movement. This method is not only efficient but also reduces fabric waste, making it a favorite among quilters who value both design and practicality.
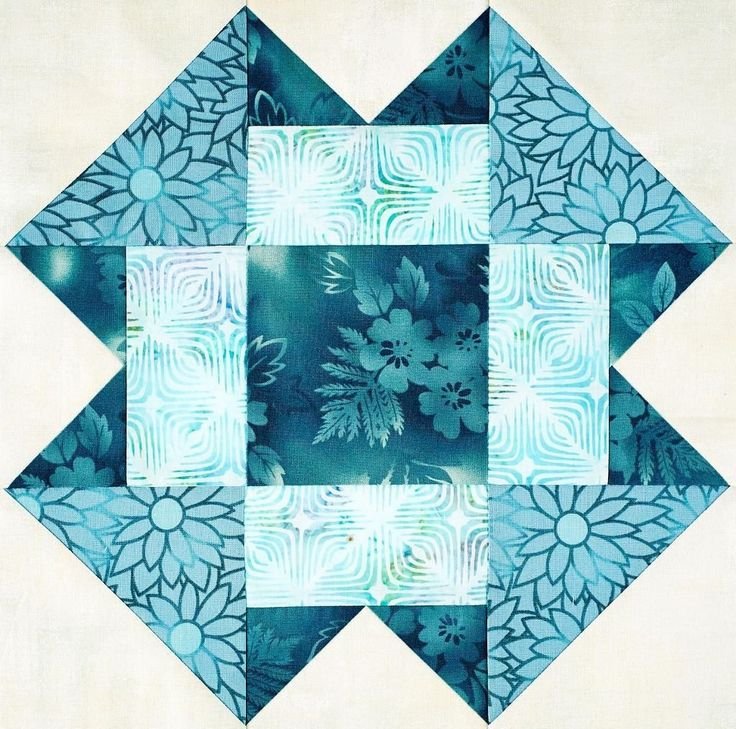
In this article, I’ll guide you through everything you need to know about creating the Folded Corners Block Pattern from materials and preparation to step-by-step construction and finishing tips. At the end of this post, you’ll also find a complete PDF pattern to help you recreate this block with ease.
Why Choose the Folded Corners Technique?
The folded corners method is one of those foundational quilting skills that opens the door to countless designs. Once mastered, you’ll find yourself using it in everything from simple patchwork to intricate star blocks.
Here’s why quilters love this technique:
- Beginner-friendly – No complex templates or curves required
- Versatile design – Can be adapted into endless block variations
- Fabric-efficient – Minimizes waste compared to traditional triangle cutting
- Precision-friendly – Helps maintain accurate seam allowances and sharp points
This technique is especially useful when creating blocks like snowballs, flying geese variations, and star patterns all of which rely on clean corner transformations.
Materials You’ll Need
Before starting your Folded Corners Block, gather the following supplies:
- Cotton quilting fabric (assorted prints or solids)
- Rotary cutter and cutting mat
- Quilting ruler (preferably 6″ x 24″)
- Sewing machine
- Neutral thread (cotton or polyester)
- Iron and pressing surface
- Fabric marking pen or pencil
- Pins or clips
Fabric Requirements
For a standard 12” finished block, you will typically need:
- (1) 10 ½” x 10 ½” square (main fabric)
- (4) 3” x 3” squares (corner fabrics)
Note: Measurements can be adjusted depending on your desired block size.
Understanding the Folded Corners Method
At its core, the folded corners technique involves sewing a smaller square onto the corner of a larger square, then trimming away the excess fabric to reveal a clean diagonal edge.
Instead of cutting triangles separately, you “build” them directly onto your block. This not only simplifies the process but also improves accuracy especially helpful when working with multiple blocks in a quilt.
Step-by-Step Instructions
Step 1: Prepare Your Pieces
Start by cutting all your fabric pieces accurately. Precision at this stage ensures your block will come together smoothly.
- Cut your main square (10 ½” x 10 ½”)
- Cut four smaller squares (3” x 3”)
On the wrong side of each small square, draw a diagonal line from one corner to the opposite corner. This will be your sewing guide.
Step 2: Position the Corner Squares
Place one small square on the corner of your larger square, right sides together. Align the edges carefully so the corners match perfectly.
The drawn diagonal line should run from the outer corner toward the center of the block.
Step 3: Sew Along the Diagonal Line
Using your sewing machine, stitch directly on the drawn line. Take your time to sew accurately this line determines the final angle of your corner.
Repeat this process for all four corners.
Step 4: Trim and Press
After sewing each corner:
- Trim the excess fabric, leaving a ¼” seam allowance
- Press the corner outward to reveal the folded triangle
Pressing is crucial here use a hot iron to ensure your corners lie flat and crisp.
Step 5: Final Block Check
Once all four corners are completed, your block should measure approximately 12 ½” unfinished (12” finished).
Check for:
- Straight edges
- Sharp corners
- Accurate measurements
If needed, square up your block using a quilting ruler.
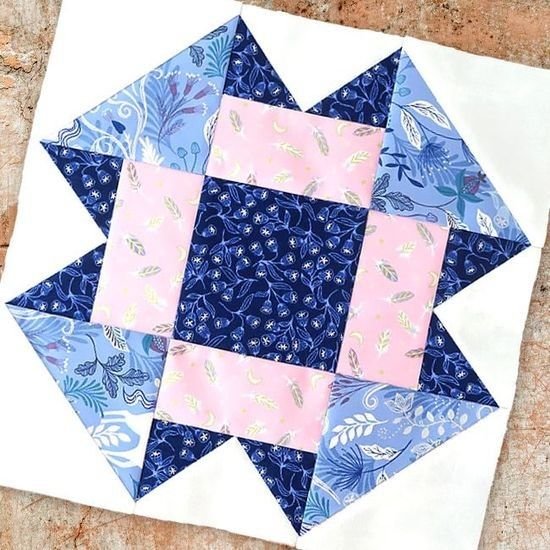
Design Variations and Creative Ideas
One of the most exciting aspects of the Folded Corners Block Pattern is how easily it can be customized. By simply changing fabrics, colors, or placement, you can create a completely different look.
Color Play
- Use high-contrast fabrics for bold, graphic designs
- Choose soft, tonal fabrics for a subtle, elegant finish
- Try scrappy corners for a playful, patchwork feel
Layout Possibilities
When combining multiple blocks, consider these layout ideas:
- Grid layout – Clean and modern
- Diagonal arrangement – Adds movement and flow
- Alternating blocks – Mix with plain squares for balance
Expanding the Design
You can also use folded corners to create more complex blocks, such as:
- Snowball quilts
- Starburst patterns
- Framed blocks
- Chain designs
Once you understand the technique, the possibilities are nearly endless.
Tips for Perfect Folded Corners
Even though this technique is beginner-friendly, a few expert tips can elevate your results:
- Use a scant ¼” seam allowance for better accuracy
- Chain piece your corners to save time when making multiple blocks
- Press, don’t iron aggressively to avoid distorting the fabric
- Test with scrap fabric first if you’re new to the method
- Trim carefully to maintain consistent block size
Taking the time to focus on these small details will make a big difference in your finished quilt.
Common Mistakes to Avoid
Like any quilting technique, there are a few pitfalls to watch out for:
- Sewing off the diagonal line, which can distort the angle
- Forgetting to trim excess fabric, causing bulk
- Misaligned corners leading to uneven edges
- Skipping pressing, resulting in a messy finish
Being mindful of these issues will help you achieve a professional-quality block every time.
How to Use the Folded Corners Block in a Quilt
This block works beautifully in a variety of quilt projects. Here are a few ideas to inspire you:
- Full quilt layouts – Repeat the block for a cohesive design
- Baby quilts – Soft fabrics and simple shapes are perfect for beginners
- Table runners – A quick and stylish project
- Pillow covers – Showcase a single block as a focal point
- Scrap quilts – Great for using leftover fabric pieces
Because of its simplicity and adaptability, the Folded Corners Block is a go-to choice for quilters of all skill levels.
To make your quilting experience even easier, I’ve prepared a complete PDF pattern with detailed instructions, diagrams, and measurements.
The Folded Corners Block Pattern is a true staple in the quilting world simple enough for beginners, yet versatile enough for experienced quilters to explore creatively. It teaches essential skills like precision sewing, accurate cutting, and proper pressing, all while producing a beautiful and functional result.
Folded Corners Block Pattern PDF
Whether you’re creating a full quilt or just experimenting with new techniques, this block is a wonderful addition to your quilting toolkit. Its clean geometry and endless customization options make it a pattern you’ll return to again and again.