
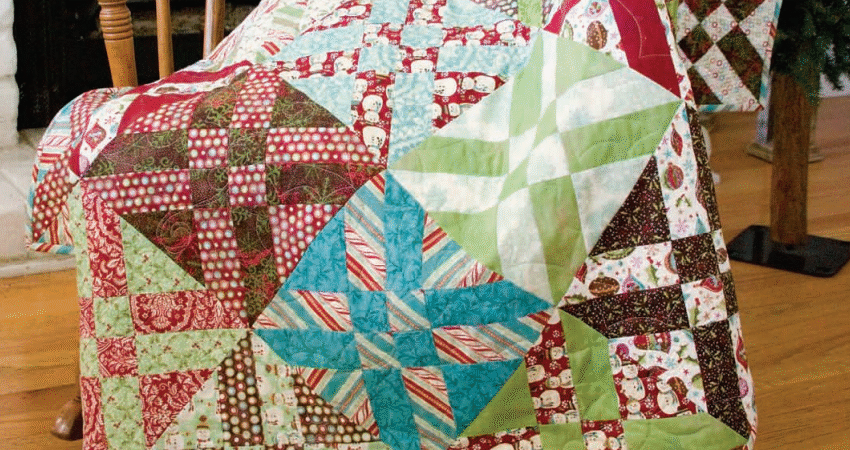
Anita’s Arrowhead is the kind of quilt block that makes people stop and ask how it was constructed. The finished patchwork contains triangles, squares, and strong diagonal lines, yet the method begins with only two contrasting fabric squares. Strategic pre-sewing and three rotary-cutting passes transform that simple pair into all the pieces needed for one block.
The technique was developed by Anita Grossman Solomon, an award-winning quilter, author, and teacher known for her Make It Simpler® construction methods. Her Arrowhead method first appeared in the book Rotary Cutting Revolution and was subsequently published by Quiltmaker.
This independently written companion guide explains the measurements, preparation, cutting logic, accuracy checks, color choices, layout planning, and common problems. It does not replace the creator’s photographs or official arrangement diagram. Links to the authorized pattern page and Anita’s resizing information appear near the end.
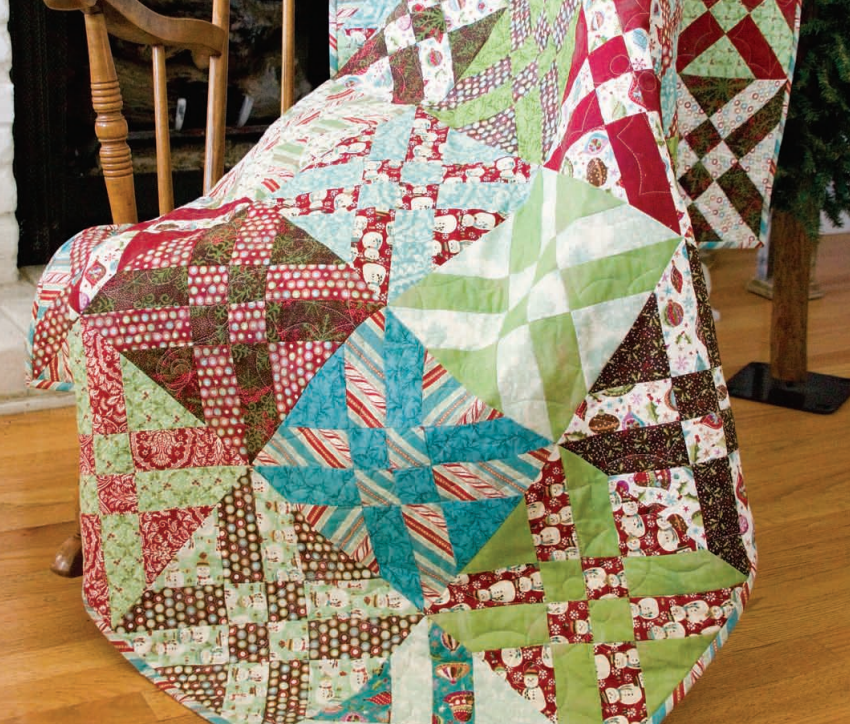
Pattern at a Glance
| Detail | Standard Arrowhead block |
|---|---|
| Finished block size | 8½ inches |
| Unfinished block size | 9 inches |
| Starting fabric | Two contrasting squares, each at least 8½ inches |
| Pair size after trimming | 8 × 8 inches |
| Cutting offset | 2 inches |
| Seam allowance | Accurate ¼ inch |
| Main techniques | Pre-sewing, stacked rotary cutting, traditional piecing |
| Suggested skill level | Confident beginner to intermediate |
The unusual 8½-inch finished measurement is intentional. The completed block is centered and trimmed to 9 inches unfinished, and ¼ inch disappears from each side when it is joined to other blocks.
The original publication also includes directions for a larger 12-inch finished block. That version starts with two 10½-inch squares, uses a 2¾-inch sewing and cutting reference, and is trimmed to 12½ inches unfinished.
Why the Construction Is So Efficient
In conventional patchwork, a block with this many angles might require separate triangles, rectangles, and squares. Anita’s method changes the order: two squares are partially sewn together first and cut afterward.
That pre-sewing accomplishes two things:
- it keeps paired fabrics organized while the shapes are cut;
- it stabilizes several edges that would otherwise be exposed on the bias.
The technique is fast only when the preparation is accurate. A pair that shifts during cutting or a seam that begins in the wrong location affects every piece made from that pair. For the first attempt, make one practice block before preparing fabric for an entire quilt.
Materials and Tools for One Block
Gather:
- two contrasting fabric squares measuring at least 8½ inches;
- neutral 50-weight cotton thread;
- sewing machine with a reliable straight stitch;
- ¼-inch presser foot, if available;
- rotary cutter with a sharp blade;
- cutting mat;
- long quilting ruler;
- 9-inch or larger square ruler for final trimming;
- removable fabric marker or small sticky notes;
- spray starch or a preferred fabric-stiffening product;
- iron and pressing surface;
- fine pins or clips, if needed.
A rotating cutting mat is convenient when trimming the finished block but is not essential. The most important tools are an accurate ruler, a sharp blade, and a seam guide that produces a true ¼-inch seam.
Use spray products according to their labels in a ventilated area. Let the fabric dry briefly before pressing so residue does not build up on the iron.
Choosing the Two Fabrics
Each block uses two fabrics, but a complete quilt can contain many different pairs. Contrast is more important than matching colors perfectly.
Light and Dark
Pair one light fabric with one medium or dark fabric. This gives the block a crisp, traditional appearance and keeps the smaller shapes visible.
Warm and Cool
Combine a warm color such as coral, red, gold, or orange with a cool blue, green, or violet. Similar values can still work if the color-temperature difference is strong.
Print and Solid
Use a lively print with a coordinating solid or near-solid. The quiet fabric gives the eye a place to rest and helps define the Arrowhead geometry.
Scrappy Pairs
Choose a different combination for every block. Repeat several fabrics in new pairings across the quilt to create unity without making identical blocks.
Low-Volume and Saturated
Pair a pale low-volume background with a saturated print. Check that the low-volume fabric does not contain large dark motifs that compete with the main fabric.
Take a grayscale photograph of each pair. If the fabrics merge into the same gray value, the piecing may be difficult to see from a distance.
Directional prints require extra planning because pieces are rotated during block assembly. For the first block, non-directional prints, small motifs, batiks, solids, or tone-on-tones are more forgiving.
Prepare and Stabilize the Fabric Pair
The official method recommends starching and pressing the two contrasting squares right sides together before trimming. This makes the layers behave more like one unit during sewing and stacked cutting.
- Cut two contrasting squares slightly larger than 8 inches. The published cutting list uses 8½-inch squares.
- Apply starch or fabric stiffener evenly according to the product instructions.
- Place the squares right sides together.
- Align the grain lines and smooth away wrinkles.
- Press the pair flat without stretching it.
- Trim through both layers to exactly 8 × 8 inches.
Use a ruler to confirm that all four corners are square. Do not trim each fabric separately and assume the pair will remain perfectly aligned. Trimming them together gives both layers identical edges.
If the fabrics shift easily, place one or two fine pins well inside the areas that will not be cut immediately. Remove every pin before the rotary cutter reaches it.
Test the ¼-Inch Seam
Precision is central to this technique. Before sewing the block, make a test with fabric scraps:
- Sew two accurately cut strips together.
- Press the seam open.
- Measure from the seamline to each outer edge.
- Adjust the needle position or seam guide if necessary.
Use a regular ¼-inch seam—not an exaggerated scant seam—unless testing shows that thread and pressing are reducing the finished measurement. Consistency matters more than the printed mark on the presser foot.
For the partial seams around the square pair, use a slightly shorter stitch than normal. Approximately 1.8–2.0 mm is a sensible test range. The shorter stitch and backstitching secure the seams when the pair is cut apart.
Understand the Partial-Seam Path
The two squares are not sewn completely around the perimeter. Instead, two opposite L-shaped corners are sewn while measured openings remain on the other portions of the edges.
For the standard block, the starting reference is 2 inches from the corner. Anita’s practical shortcut is to place a 2-inch sticky note in the corner rather than mark every pair individually.
Study the official sewing diagram before beginning. The important checkpoints are:
- start at the 2-inch reference point;
- secure the beginning with a backstitch;
- sew toward the corner;
- stop ¼ inch from the adjacent edge;
- pivot with the needle down;
- continue along the next side;
- backstitch at the end;
- rotate the entire square pair 180 degrees;
- repeat on the opposite corner.
The two sewn corners must be diagonal opposites. Sewing adjacent corners will not produce the required pieces.
Sew the Two Opposite Corners
Keep the right sides together and the raw edges aligned.
First Corner
Position the pair according to the official diagram. Begin at the 2-inch point, backstitch, and sew toward the corner using an accurate ¼-inch allowance. Stop ¼ inch before the next raw edge, lower the needle, raise the presser foot, and pivot. Continue along the adjacent side and secure the final stitches.
Opposite Corner
Rotate the paired squares 180 degrees. Repeat the same L-shaped stitching path on the diagonally opposite corner.
After sewing, compare the two corners. The lines should mirror one another, and the remaining unsewn portions should match in length. If one starting point is noticeably different, correct it before cutting.
Do not press the pair open yet. The fabrics need to remain stacked for the cutting stage.
Make the Three Rotary Cuts
This is the stage that gives the technique its famous “three cuts” description. Keep the cutting diagram from the authorized pattern beside the mat.
Cut 1: Diagonal Through the Sewn Corners
Place the ruler from one sewn corner to the opposite sewn corner. The diagonal must pass precisely through those two corners. Cut through both fabric layers.
You now have two layered triangular units. Do not open or rearrange the layers.
Stack the Triangles
Rotate the triangles into the orientation shown in the official instructions and stack them carefully. Match all raw edges and points. Smooth the layers without pulling the bias edges.
The next two cuts go through the complete stack, so even a small shift is multiplied across several pieces.
Cut 2: Two Inches from the Left Edge
Measure exactly 2 inches from the indicated left edge. Align the ruler with the mat and the stacked raw edges, then cut through all layers in one controlled pass.
Cut 3: Two Inches from the Bottom Edge
Without disturbing the stack, measure 2 inches from the indicated bottom edge. Make the final cut through all layers.
If the ruler moves or the layers slip, stop and realign them. Do not continue a cut that is visibly drifting.
Use the specific left and bottom references in the official diagram; measuring from the wrong sides produces different shapes even though the numerical measurement is correct.
Open and Press the Cut Units
After cutting, separate and open the sewn units. Press the seam allowances open as directed in the original pattern.
Open seams reduce bulk and keep the many intersections flatter. To protect the bias edges:
- set each seam with the iron first;
- open the allowance gently with fingers or a seam roller;
- press straight down rather than sliding the iron;
- avoid pulling the triangular tips;
- allow the units to cool flat before moving them.
If a seam opens at the end, restitch it with a short stitch before assembling the block. Do not rely on the next seam to hide a loose edge.
Arrange the Arrowhead Design
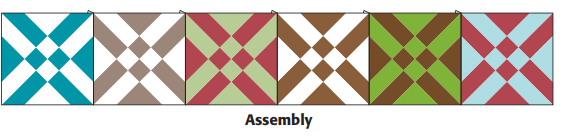
Place all the opened units on a design board. The shapes can form several plausible arrangements, so use the official Quiltmaker block-assembly diagram as the final orientation reference.
Before sewing:
- confirm that the two fabrics alternate as shown;
- check the direction of every small triangle;
- compare the left and right halves;
- ensure that no unit is turned over to its wrong side;
- photograph the correct layout.
Move the pieces to the machine one row at a time. A small numbered note beside each row prevents the design from being accidentally rearranged.
This companion article intentionally does not reproduce the copyrighted assembly illustration. The authorized pattern link is provided below.
Sew the Block Together
Join neighboring units with an accurate ¼-inch seam. Pin important intersections and keep raw edges aligned without stretching them.
Press the new seam allowances open. Build the block into rows or sections according to the official diagram, then join those larger sections.
After every major seam:
- compare the patch placement with the reference photo;
- check that the unit remains flat;
- confirm that triangle points retain a ¼-inch allowance;
- remove any temporary labels before they reach the needle.
The pieced block may look slightly irregular around the perimeter. That is expected because the block is centered and squared in the next step.
Center and Trim to 9 Inches
Place a 9-inch or larger square ruler over the completed patchwork. The design should be centered before the first edge is cut.
- Identify the visual center and main diagonal lines.
- Align the ruler so the pattern is balanced on all four sides.
- Confirm that important outer points have at least ¼ inch beyond them.
- Trim two adjacent edges.
- Rotate the block and align the trimmed edges with the 9-inch ruler marks.
- Trim the remaining sides to 9 × 9 inches.
Do not trim it to 8½ inches. The block is 9 inches unfinished and becomes 8½ inches finished only after it is sewn into the quilt.
If the block cannot reach 9 inches, review the original 8-inch pair, seam allowance, and cutting references. Reducing every later block to match one undersized sample changes the published quilt dimensions and may remove essential point allowances.
Accuracy Checkpoints
| Stage | Standard block target |
|---|---|
| Fabric pair before trimming | At least 8½ inches square |
| Stabilized pair after trimming | 8 × 8 inches |
| Sewing and cutting reference | 2 inches |
| Seam allowance | ¼ inch |
| Block before joining to quilt | 9 × 9 inches |
| Block after joining | 8½ × 8½ inches |
Measure at each stage instead of waiting until the final trim. The method is efficient because each operation affects several pieces at once; the same feature means an early error can also affect the entire block.
The 12-Inch Finished Version
The original Quiltmaker PDF provides a larger option:
- start with two 10½-inch fabric squares;
- use 2¾ inches instead of 2 inches for the sewing and cutting references;
- center and trim the pieced block to 12½ inches unfinished;
- the block finishes at 12 inches in the quilt.
Follow the official diagram and instructions for the exact sewing orientation. Do not mix the 10½-inch starting squares with the standard 2-inch reference.
Anita also published an official downloadable chart for additional proportional sizes. Her accompanying notice allows personal downloads and links but prohibits selling or republication without written permission. Use the creator’s page linked below rather than copying that chart into your article or another PDF.
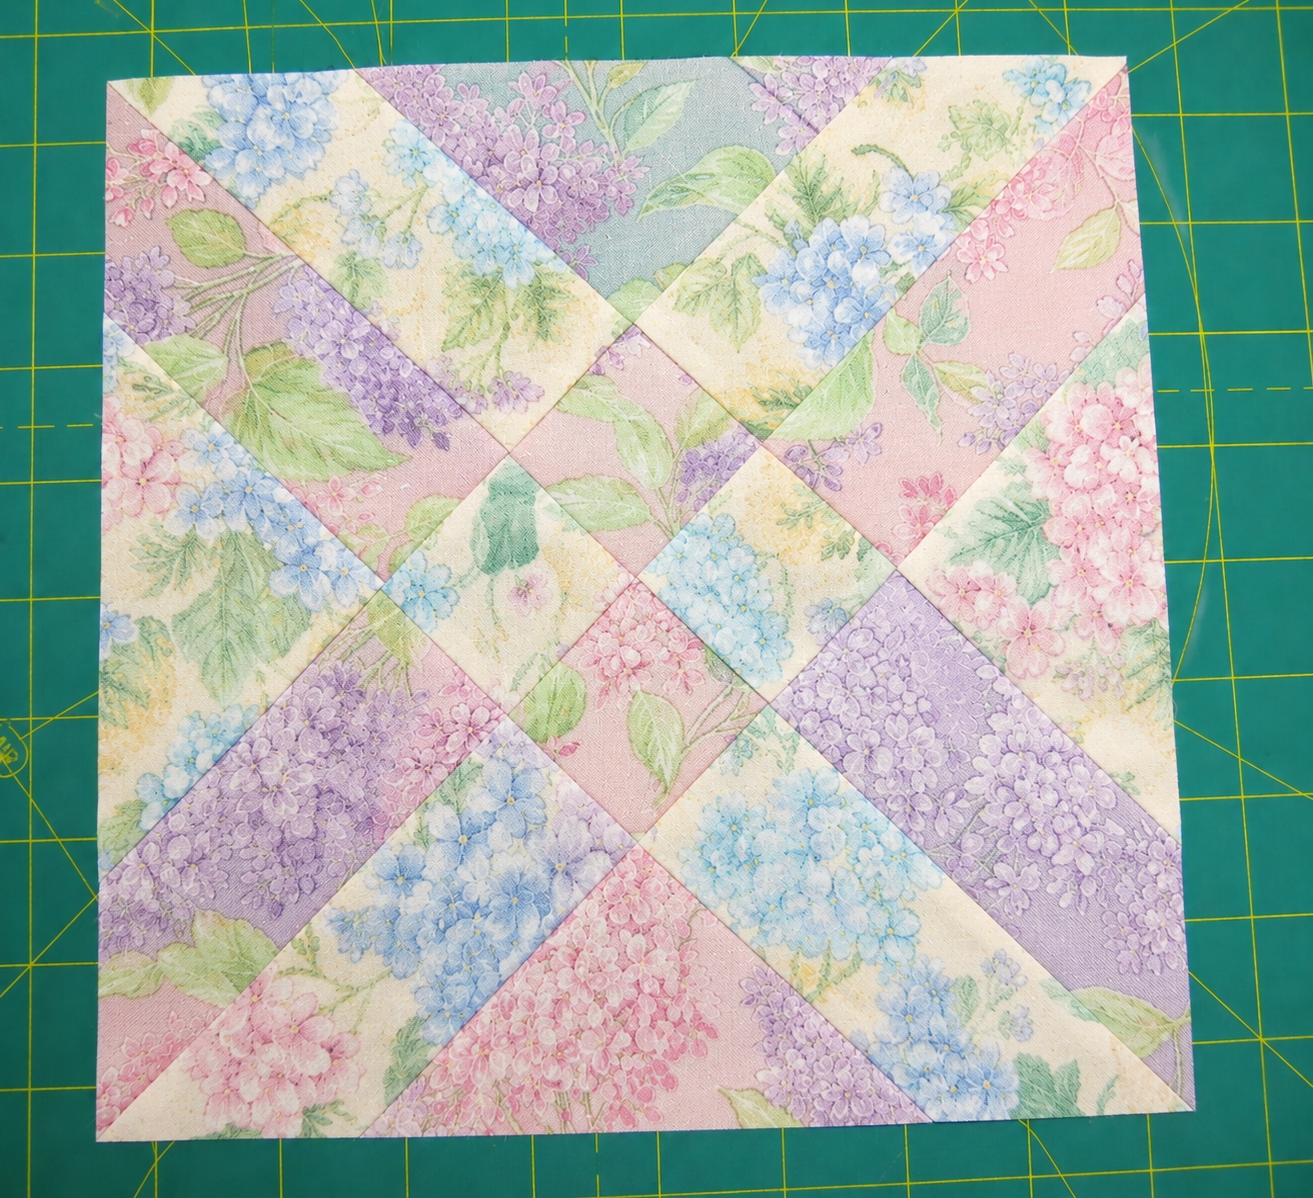
Fabric Planning for a Scrappy Quilt
One standard block requires two fabric squares. A fat quarter measuring approximately 18 × 21 inches can usually yield four 8½-inch squares, depending on shrinkage and the usable width.
This means one fat quarter can contribute enough pieces for two blocks, although mixing the squares among different fabrics creates better variety.
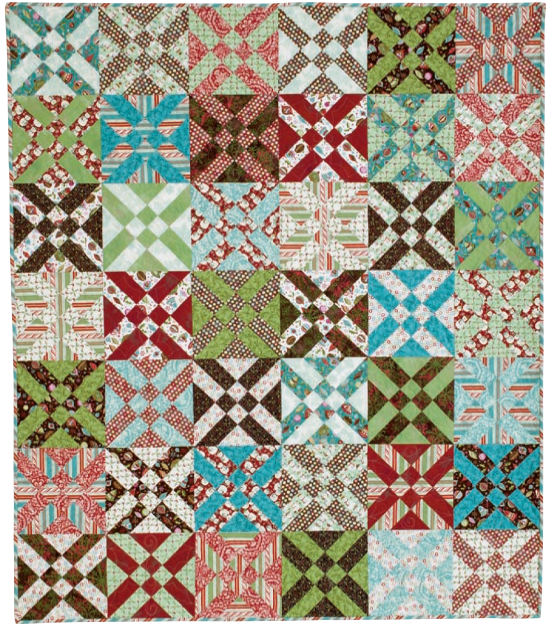
For the original 51 × 59½-inch throw:
- the layout uses 6 blocks across and 7 blocks down;
- 42 blocks require 84 starting squares;
- the published materials list uses 21 fat quarters.
Cut a few test squares before processing all the fat quarters. If the fabric has been prewashed or the selvage is unusually wide, confirm that four accurate 8½-inch squares still fit.
Quilt-Size Planning
The standard block finishes at 8½ inches. The measurements below do not include borders.
| Layout | Blocks | Finished quilt-top size |
|---|---|---|
| 4 × 5 | 20 | 34 × 42½ inches |
| 5 × 6 | 30 | 42½ × 51 inches |
| 6 × 7 | 42 | 51 × 59½ inches |
| 8 × 10 | 80 | 68 × 85 inches |
| 11 × 11 | 121 | 93½ × 93½ inches |
The 8 × 10 and 11 × 11 settings correspond to the twin and queen dimensions shown in the original publication.
For the 12-inch finished version:
| Layout | Blocks | Finished quilt-top size |
|---|---|---|
| 3 × 4 | 12 | 36 × 48 inches |
| 4 × 5 | 20 | 48 × 60 inches |
| 5 × 6 | 30 | 60 × 72 inches |
| 6 × 7 | 42 | 72 × 84 inches |
Measure the intended bed or wall before choosing a setting. Mattress depth, desired drop, borders, and laundering shrinkage can change the required dimensions.
Layout Ideas
Fully Scrappy Grid
Use a different fabric pair for each block and join the blocks directly. Distribute repeated colors throughout the layout rather than clustering them in one corner.
Controlled Two-Color Quilt
Repeat the same two fabrics in every block. This makes the secondary lines more obvious and creates a graphic modern result.
Color-Wash Layout
Arrange blocks from light to dark or move gradually through the color wheel. Place all blocks on a design wall before sewing rows.
Alternating Block Rotation
Rotate neighboring blocks to change the direction of the diagonal movement. Photograph several options before selecting the final orientation.
Sashing and Cornerstones
Narrow sashing separates the complex blocks and makes each Arrowhead easier to see. Cornerstones can repeat one of the strongest colors in the quilt.
Negative-Space Setting
Alternate Arrowhead blocks with plain squares. The open space provides room for visible quilting and reduces the number of precision-cut blocks needed.
Quilting and Finishing Ideas
The published throw uses a continuous-line design called Holly Daze. You can also select quilting that supports your fabrics and intended style.
- diagonal straight lines reinforce the arrows and triangles;
- crosshatching adds an even traditional texture;
- stitching near the main seams emphasizes the block structure;
- loose swirls soften the angular patchwork;
- continuous curves work well across repeated units;
- edge-to-edge meandering lets scrappy fabrics remain the focus.
Follow the batting manufacturer’s minimum quilting-distance instructions. Make a quilting sample with leftover fabrics because dense quilting can shrink a block-based top more than expected.
For binding, the original throw uses 2¼-inch-wide strips. The final binding width can be adjusted for your preferred method, but calculate yardage from the actual quilt perimeter rather than copying the throw requirement for a different quilt size.
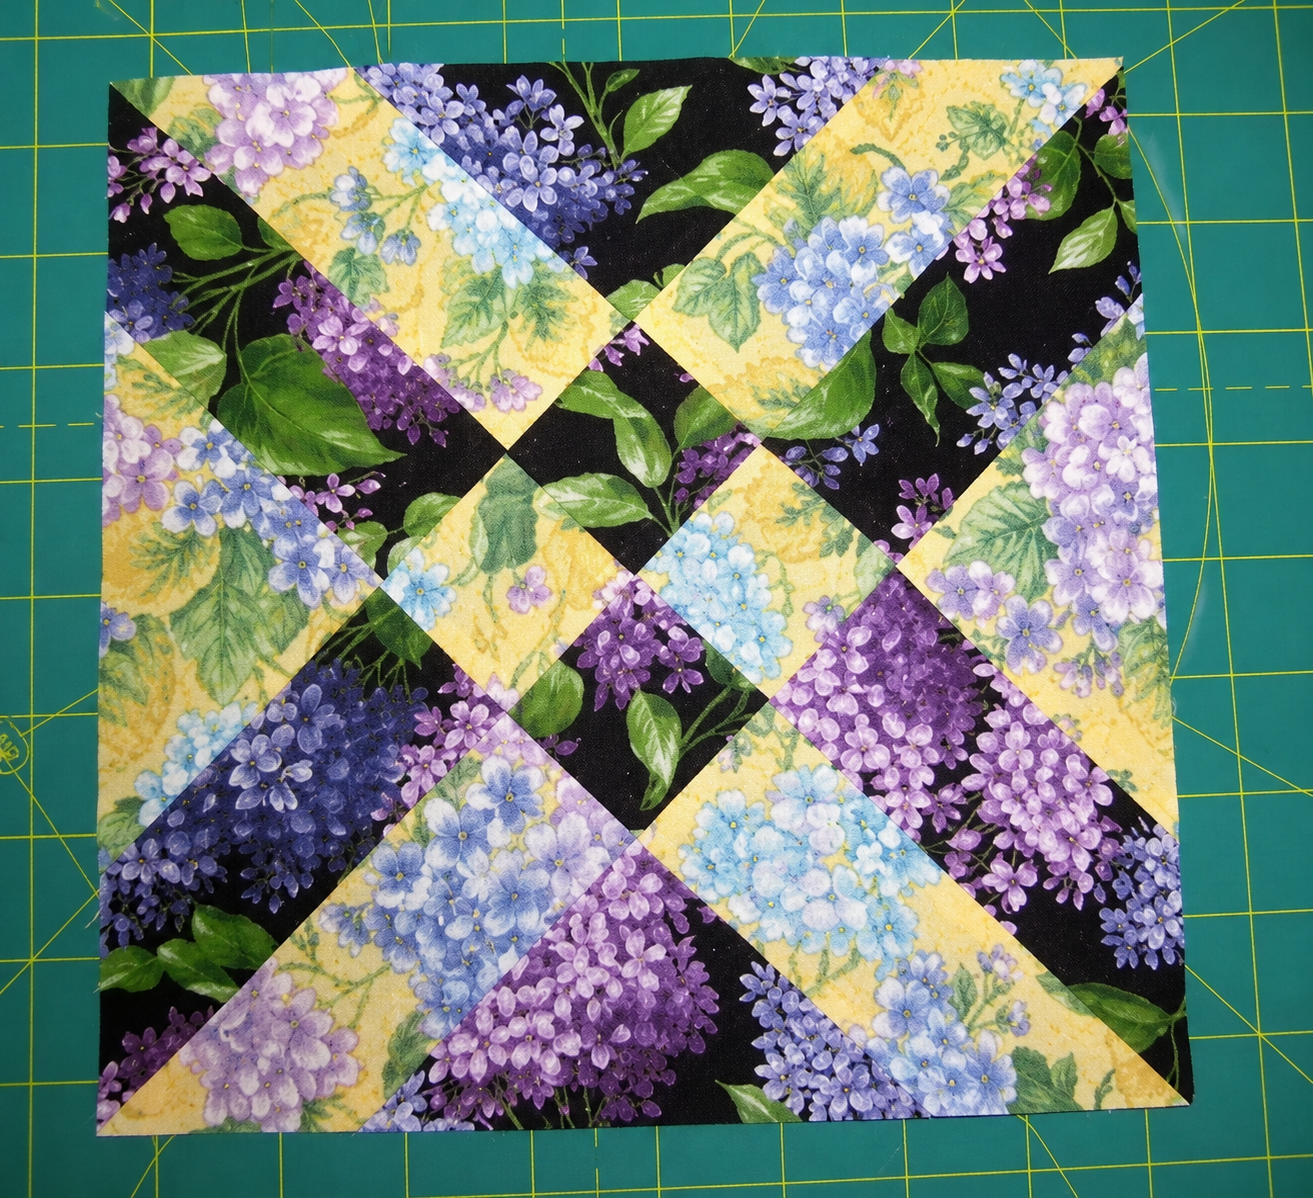
Troubleshooting
The Fabric Layers Shift While Cutting
Starch and press the pair right sides together, trim both layers at the same time, and use a sharp blade. Apply firm downward ruler pressure without leaning sideways.
I Sewed the Wrong Corners
The L-shaped seams must be on diagonally opposite corners. If adjacent corners were sewn, remove the stitches and recheck the official diagram before cutting.
The Partial Seams Open After Cutting
Use a shorter stitch and backstitch at every beginning and end. Repair any opening before pressing the units.
My Three Cuts Produced Different Shapes
The diagonal may not have passed through both sewn corners, or the final offsets may have been measured from the wrong left and bottom edges. The cutting orientation is as important as the 2-inch measurement.
The Block Is Distorted
Several newly cut edges are on the bias. Avoid stretching them, use an up-and-down pressing motion, and allow the units to cool flat.
The Block Is Smaller Than 9 Inches
Confirm that the starting pair was trimmed to a full 8 inches and that the seams were an accurate ¼ inch. Also check that the stacked cuts were made at exactly 2 inches.
The Design Is Not Balanced After Trimming
Center the ruler on the visual pattern before cutting the first edge. Remove small amounts from opposite sides rather than taking the entire adjustment from one side.
Points Are Cut Off in the Quilt
Maintain ¼ inch of fabric beyond every point near the block perimeter. The block should enter the quilt at 9 inches unfinished, not 8½ inches.
The Center Is Bulky
Press the original sewn units and final joining seams open. Reduce stitch length slightly on seams that will be pressed open and make sure no allowances fold back on themselves.
Frequently Asked Questions
Is Anita’s Arrowhead suitable for beginners?
It is suitable for a confident beginner who already uses a rotary cutter safely and can sew an accurate ¼-inch seam. The sewing is straightforward, but the stacked cutting requires careful measurement.
Can I use 10-inch layer-cake squares?
Yes. Two 10-inch squares provide enough fabric for the standard block because the pair is trimmed to 8 inches. The extra fabric becomes trimming waste. Confirm that the precuts are square before stacking them.
Why start with 8½-inch squares and trim them to 8 inches?
The extra size allows the starched pair to be aligned and squared together. Beginning with an accurate 8-inch two-layer unit is essential for the later cuts.
Is starch required?
It is strongly recommended by the designer because it keeps the paired layers aligned and stabilizes the bias edges. If you avoid starch, test another fabric-stiffening method on one block first.
Should the seams be pressed open?
Yes. The original method directs the units to be pressed open, which reduces bulk at the many intersections.
Can I resize the block myself?
Proportional resizing changes the starting square, seam starting point, cutting offset, and final trim. Use Anita’s official alternate-size resource instead of guessing or scaling only one measurement.
Can I use directional prints?
You can, but several pieces rotate during assembly. Make one test block and observe the directions before cutting all the fabric.
Can I mix the standard and 12-inch blocks?
Not in a direct grid without additional planning because the finished dimensions are different. Borders, spacer blocks, or a modular layout can combine them.
Can I redistribute the free PDF on my own website?
A free download is not automatically free to republish. The Quiltmaker PDF is marked “all rights reserved,” and Anita’s own notice for her resizing document allows linking but prohibits republication without written permission. Link readers to the authorized source.
May I sell quilts made from this block?
Commercial-use questions should be directed to the designer or relevant rights holder. Pattern credit and access to a free PDF do not by themselves grant commercial permission.
Official Pattern and Designer Resources
Use the authorized pages below for the original diagrams, pattern download, and resizing information:
Anita’s Arrowhead Quilt Block: Cutting Guide
Download availability can change, so keeping the landing-page link alongside the button helps readers locate the current authorized version.
Pattern Credit
The Anita’s Arrowhead construction technique was created by Anita Grossman Solomon. According to the designer, the block was first published in Rotary Cutting Revolution by C&T Publishing and subsequently appeared in Quiltmaker. The downloadable Quiltmaker publication is copyrighted © 2011 Creative Crafts Group, LLC, all rights reserved.
The original publication’s quilt was sewn by Carolyn Beam and quilted by Peg Spradlin; its Step 2 photographs were credited to C&T Publishing. Easy Quilting Patterns does not claim ownership of the pattern, technique, publication, diagrams, photography, quilting design, or alternate-size chart.
This Easy Quilting Patterns article is an independently written companion guide. It adds preparation guidance, accuracy checkpoints, fabric planning, size calculations, layout ideas, and troubleshooting while directing readers to authorized sources for the original pattern and diagrams.
Final Thoughts
Anita’s Arrowhead is fast because the method combines operations, not because accuracy is optional. Stabilize and trim the two-layer pair carefully, sew the correct opposite corners, align the diagonal through those sewn corners, keep the triangle stack motionless, and measure both 2-inch cuts from the specified edges.
Make one sample block and trim it to the full 9-inch unfinished size before cutting a complete quilt. Once the test block is accurate, prepare several pairs and work in small batches while checking measurements regularly.