
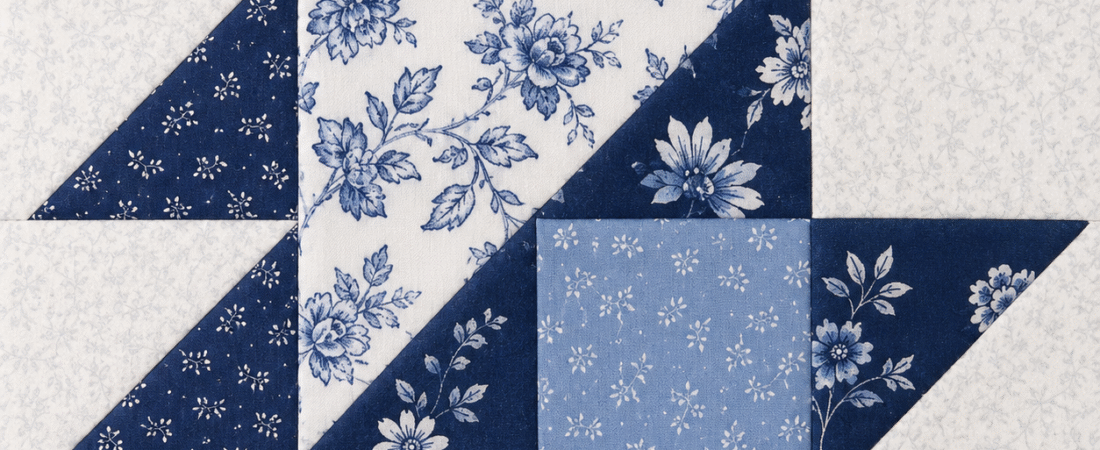
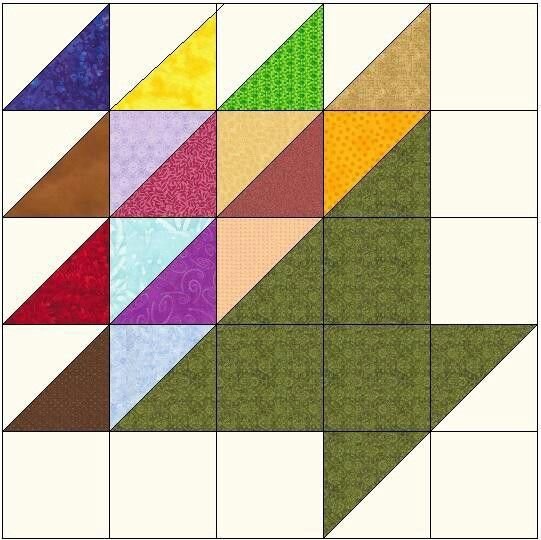
Small quilt blocks can be some of the most satisfying pieces to make. They use very little fabric, fit easily into scrap projects, and provide excellent practice for accurate cutting and piecing. The Bitty Basket quilt block is a charming example: a recognizable basket motif assembled at a miniature scale.
The basket shown in the original project finishes at only 4 inches, so the individual triangle-square units are much smaller than those found in a typical 10- or 12-inch block. That scale makes accuracy important, but it also turns one block into a useful skill-building exercise.
This independent companion guide explains how to select fabrics, improve miniature half-square triangles, control bulky seams, square the block, and plan projects with 4-inch finished blocks. It does not reproduce the original publisher’s instructions, photographs, or PDF.
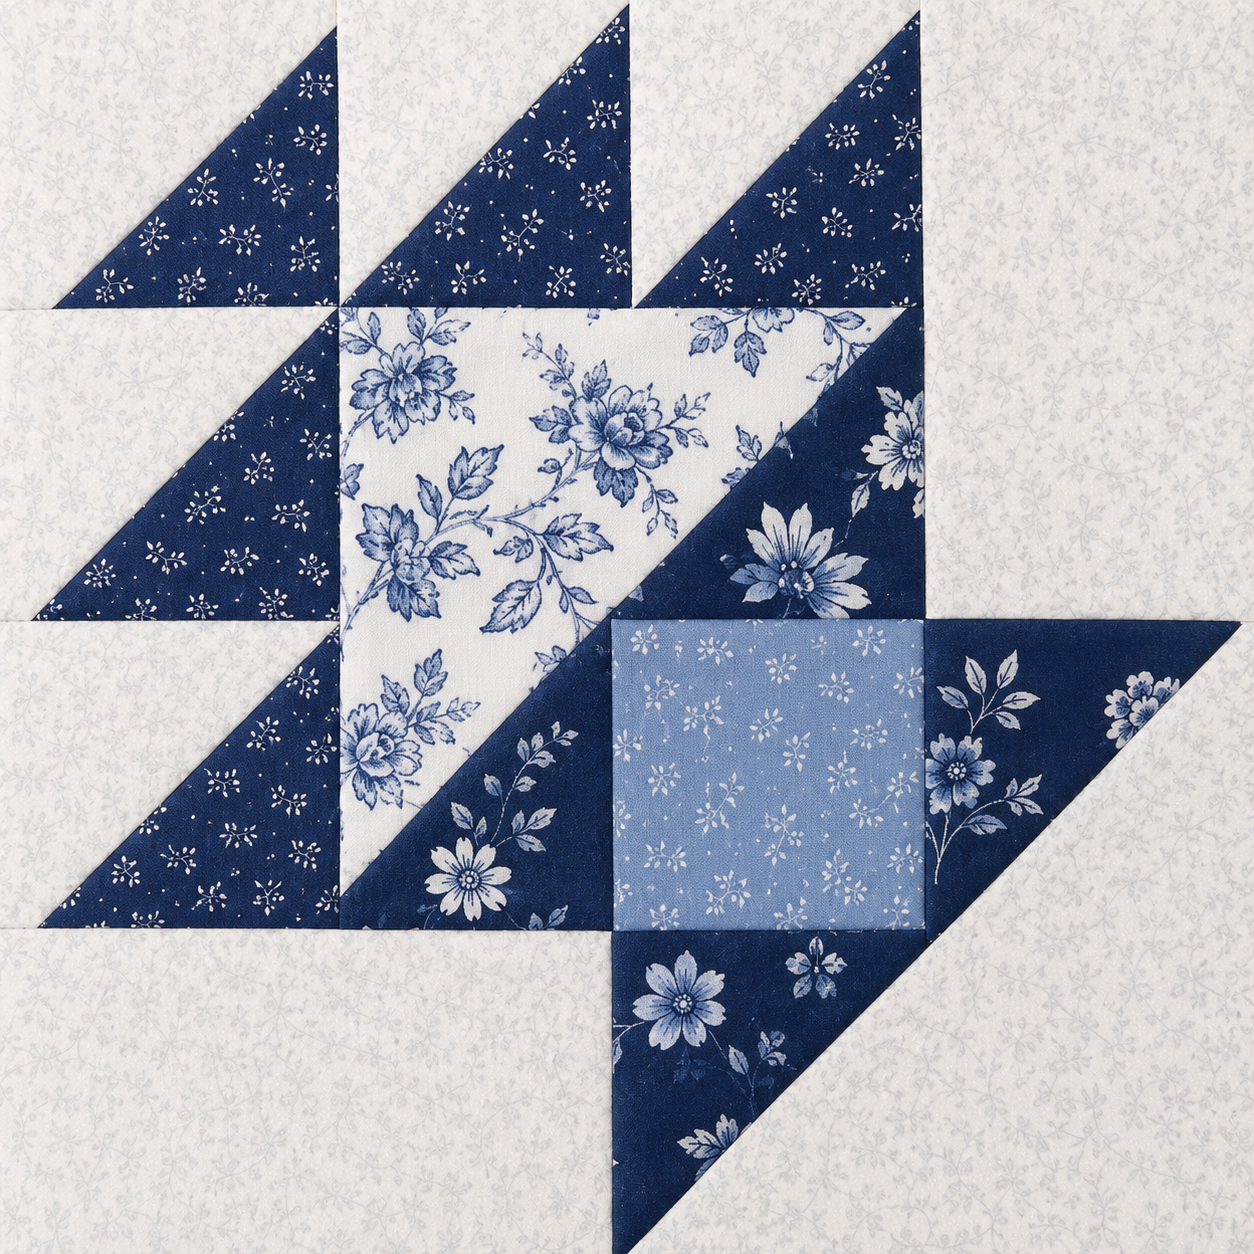
Origin of the Bitty Basket Block
The small basket featured here was originally presented by Quiltmaker as the February block in its 2015 QM Bitty Blocks project, identified online with the hashtag #qmbittyblocks. The project introduced a new miniature block each month, with most blocks finishing at 3 or 4 inches.
The original basket tutorial was associated with Paula and the Quiltmaker editorial project. Easy Quilting Patterns does not claim to have designed that pattern. This page provides additional preparation, accuracy, troubleshooting, and project-planning information for quilters working with miniature basket blocks.
Block Details at a Glance
- Finished size: 4 inches
- Unfinished size: 4 1/2 inches
- Skill level: Confident beginner to intermediate
- Main techniques: Half-square triangles, small-scale piecing, nested seams, and squaring
- Recommended seam allowance: Scant 1/4 inch
- Best use: Scraps, sampler quilts, row quilts, mini quilts, and small accessories
Although the construction uses familiar patchwork techniques, the block should not be described as effortless for a first-time quilter. Several seams meet within a limited area, and a very small difference in seam allowance can change the final measurement.
Materials and Tools
Use the cutting requirements from an authorized copy of the original pattern and gather these basic supplies:
- Light background quilting cotton
- One or two basket fabrics with clear contrast
- Fine cotton piecing thread
- Rotary cutter with a sharp blade
- Cutting mat and acrylic ruler
- Sewing machine with a 1/4-inch presser foot
- Removable fabric marker
- Fine pins or small quilting clips
- Iron and pressing surface
- Small square ruler for trimming units
- 4 1/2-inch square ruler for the completed block
- Optional starch or fabric-stabilizing spray
- Small labels or a compartment tray
Quilting cotton is the most predictable choice. Loosely woven fabric, heavy linen, flannel, or stretchy material can make miniature units more difficult to control.
Why Miniature Piecing Requires Extra Accuracy
If a seam is 1/16 inch too wide in a large block, the difference may be difficult to notice. In a miniature block, that same difference is a much larger percentage of the unit’s total width. Several slightly wide seams can make a 4 1/2-inch unfinished block noticeably too small.
Three factors matter most:
- Cutting accuracy: Small pieces leave little room for correction.
- Seam consistency: Every seam should use the same scant 1/4-inch allowance.
- Controlled pressing: Bias edges can stretch quickly under a moving iron.
Before using your selected fabrics, make a test half-square triangle from scraps. Sew, press, trim, and measure it. Adjust the needle position or seam guide before continuing if the test unit is too small.
Choosing Fabrics for a Clear Basket Shape
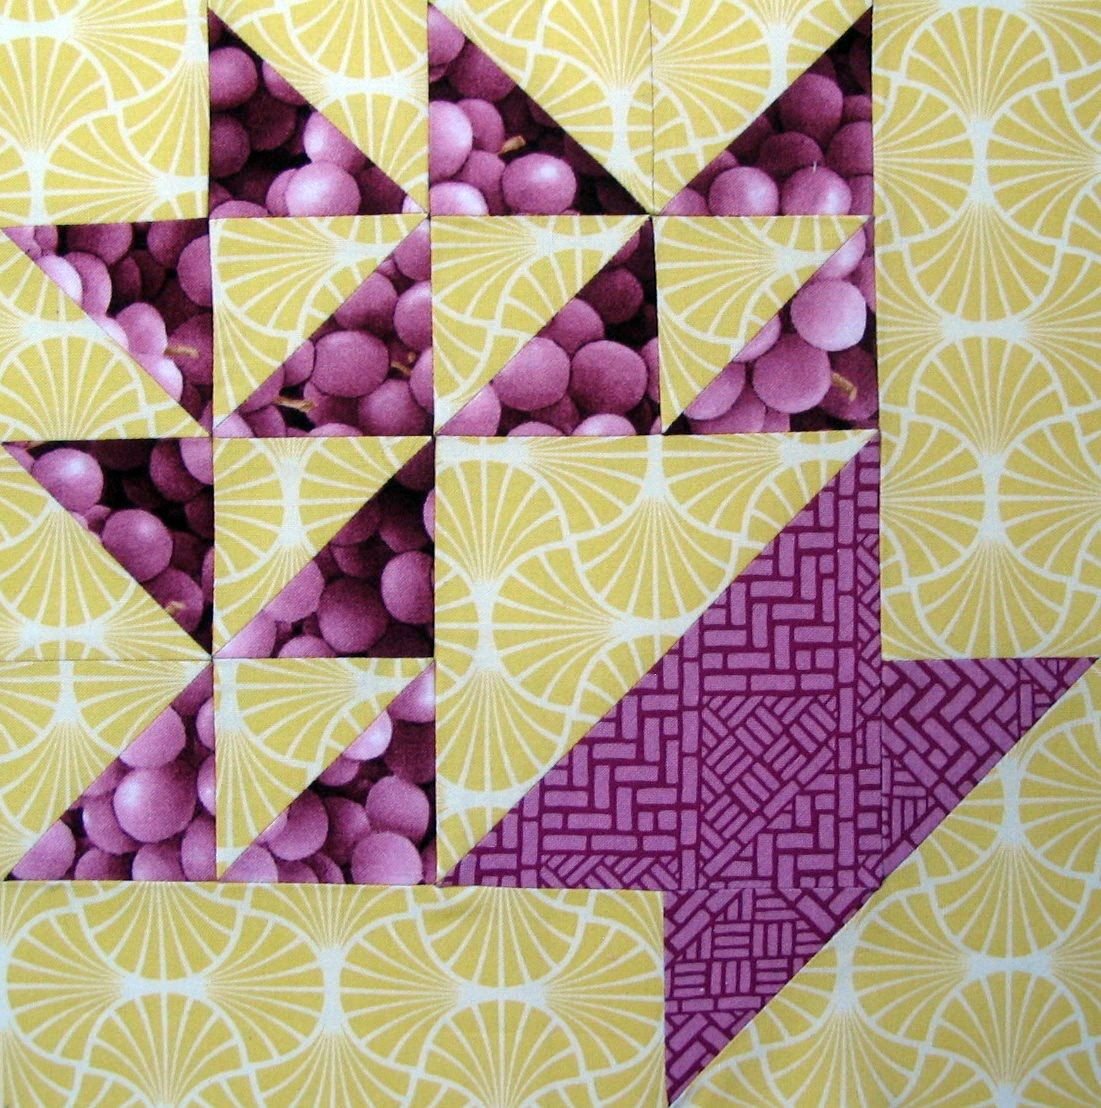
Contrast is more important than the number of colors. The basket should remain visible from several feet away.
Choose a light or low-volume background and compare it with the basket fabrics. A medium fabric can define the body, while a darker or brighter accent adds depth. Small prints and tone-on-tone designs are particularly effective because their motifs remain readable after the fabric is cut into tiny triangles.
Large floral or novelty prints may lose their identity in 1-inch finished units. If you want to use one, reserve it for a larger area or select a section of the print with consistent color.
Try a Black-and-White Value Test
Place the fabrics together and photograph them with a phone. Convert the photograph to black and white. If the basket and background become the same gray value, introduce a lighter or darker fabric.
Value contrast keeps the shape visible even when several scrappy colors are used across a quilt.
Preparing the Fabric
Press the fabric before cutting. If you use starch, apply it before measuring the pieces so that any slight shrinkage occurs first. Let the fabric dry and press it flat without pulling it off grain.
Use a fresh rotary blade and place the ruler markings directly over the fabric edge. Because the pieces are small, a ruler with thin, high-contrast markings is easier to position accurately.
Label each group as soon as it is cut. Keep background pieces separate from basket pieces, even when their sizes appear different. At the sewing machine, several tiny squares and triangles can become mixed very easily.
Making Accurate Miniature Half-Square Triangles
Half-square triangles, often abbreviated as HSTs, create much of the basket’s shape. The original project uses units that finish at approximately 1 inch within the completed block.
There are two reliable approaches.
Traditional Exact Cutting
For a two-at-a-time HST method, the traditional rule is to add 7/8 inch to the desired finished size of the unit. Sew 1/4 inch on both sides of the marked diagonal, cut on the line, and press the two units open.
This method uses fabric efficiently, but the cutting and seam allowance must be very precise.
Oversize and Trim
Many quilters find it easier to cut the starting squares slightly oversized and trim each completed HST to its required unfinished measurement. For a 1-inch finished HST, the trimmed unit should measure 1 1/2 inches unfinished.
When trimming:
- Place the ruler’s 45-degree line directly on the diagonal seam.
- Trim the top and right edges.
- Rotate the unit 180 degrees.
- Align the freshly cut edges with the correct measurement.
- Trim the remaining two sides.
Do not trim only by measuring the outside edges. If the diagonal seam is not aligned with the ruler’s 45-degree line, the point can shift and disappear when the next seam is sewn.
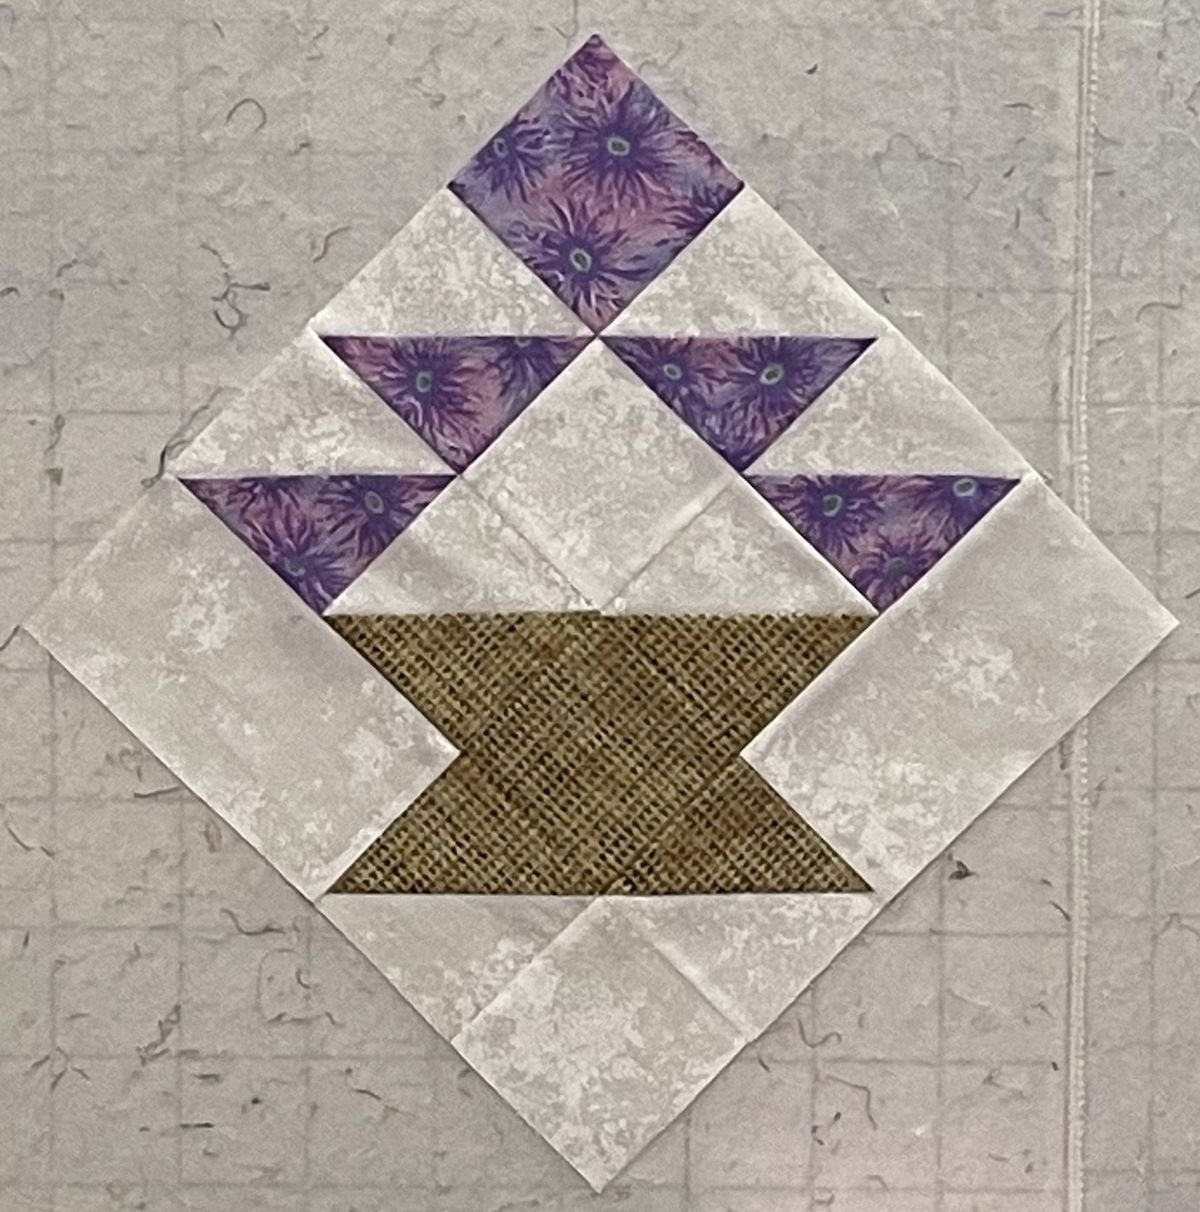
Practical Construction Workflow
Use the authorized pattern for the exact cutting list and illustrated layout. The following workflow will help keep its small pieces accurate.
Step 1: Create a Reference Layout
Arrange all components on a small design board before sewing. Take a photograph and keep it beside the machine. The photograph provides a quick orientation check whenever a triangle unit is moved or rotated.
Step 2: Chain Piece Matching Units
Sew identical half-square triangle pairs one after another without cutting the thread between them. Chain piecing saves time and helps maintain the same orientation.
Use a shorter stitch length than you would for large patchwork. A setting near 2.0 mm is often secure enough for small units without making later corrections excessively difficult.
Step 3: Press and Trim Before Assembly
Press each HST flat to set the seam, then open it gently. Trim every unit to the size required by the pattern before joining rows. An error that appears minor in one HST becomes much more noticeable after several units are placed side by side.
Step 4: Assemble Short Rows
Return the trimmed units to the reference layout. Join the small sections and short rows in the order shown in the authorized instructions.
Pin through important seam intersections rather than using many pins along the entire edge. Match the seam lines first, then align the outer edges.
Step 5: Nest Opposing Seam Allowances
When two rows meet, press their seam allowances in opposite directions whenever the construction permits. The folded seam ridges will fit against each other and help the triangle points align.
Run a pin directly through the intersection on the first row and then through the matching intersection on the second. Keep that pin perpendicular until the area is close to the presser foot.
Step 6: Control Bulk in the Final Seams
Several small seams meet inside the basket. If one intersection becomes thick, press the final joining seam open. Use a pressing cloth or small wooden clapper to flatten the area without distorting the block.
Step 7: Square the Completed Block
Let the block cool completely before measuring it. Place a 4 1/2-inch square ruler over the unfinished block and check that the design is centered.
Trim only narrow slivers. Preserve a full 1/4-inch seam allowance beyond every important point. If the block is significantly smaller than 4 1/2 inches, do not cut it smaller to make it appear square; diagnose the seam allowance first.
Pressing Without Distorting Tiny Units
Miniature HSTs contain exposed bias edges, which can stretch easily. Use an up-and-down pressing motion instead of sliding the iron.
- Set each seam before opening it.
- Use minimal steam on bias edges.
- Press from the front after setting the seam from the back.
- Allow units to cool before trimming.
- Keep pressing directions consistent across matching sections.
- Avoid pulling a warm block off the ironing board.
A small iron can be useful, but it is not required. The important part is controlling the pressure and movement.
Troubleshooting the Bitty Basket Block
The block is too small
A seam allowance that is slightly wider than a scant 1/4 inch is the usual cause. Check the needle position, thread thickness, and pressing method. Thick thread and seams pressed to one side can consume more width than expected.
The diagonal points are missing
Before joining rows, confirm that there is 1/4 inch of fabric beyond each triangle point. Stitch through the intersection where the diagonal seam meets the next seam line.
The block will not lie flat
Bulky or inconsistent seam directions may be pushing the center upward. Press the final joining seam open and use a clapper while the area cools.
The HST diagonal is crooked
The unit may have shifted during sewing or been trimmed without aligning the 45-degree line. Make another HST rather than forcing a severely crooked unit into the layout.
The basket blends into the background
The fabrics are probably too similar in value. Use a darker basket fabric, a lighter background, or a narrow range of coordinated scraps that all contrast with the background.
Planning Projects With 4-Inch Finished Blocks
The following measurements use 4-inch finished blocks and do not include sashing, borders, or binding.
| Layout | Blocks Needed | Patchwork Size |
|---|---|---|
| 3 × 3 | 9 | 12 × 12 inches |
| 4 × 6 | 24 | 16 × 24 inches |
| 6 × 8 | 48 | 24 × 32 inches |
| 9 × 12 | 108 | 36 × 48 inches |
| 12 × 15 | 180 | 48 × 60 inches |
| 15 × 18 | 270 | 60 × 72 inches |
Miniature blocks require many seams, so a full quilt can become heavy and time-consuming. Mixing baskets with plain squares, larger traditional blocks, or negative space reduces the number needed and gives each basket more visual room.
For a larger block with more dramatic points, visit our Double Aster Block Pattern guide.
Sashing and Layout Ideas
Narrow sashing can prevent the baskets from visually merging. Try 1/2-inch or 1-inch finished sashing between the blocks. Cornerstones can repeat the basket colors and help organize a scrappy layout.
Consider these arrangements:
- Traditional grid: Place every basket in the same direction.
- Alternating direction: Rotate every second block for added movement.
- Scrappy row quilt: Combine baskets with stars, houses, hearts, or simple four-patches.
- Medallion border: Use miniature baskets around one large center block.
- Seasonal mini quilt: Make a small group in colors associated with spring, autumn, or Christmas.
- Basket sampler: Change the fabric in every block while maintaining one consistent background.
Lay out all the finished blocks before joining them. Distribute the darkest fabrics evenly so one area of the quilt does not feel visually heavier than the others.
Color Palette Ideas
Vintage Scrappy
Combine cream backgrounds with small-scale florals, dusty red, faded blue, mustard, and brown. Reproduction prints suit the traditional basket shape especially well.
Spring Garden
Use white or pale gray backgrounds with pink, lavender, mint, yellow, and fresh green. Keep enough contrast between pastel fabrics and the background.
Modern High Contrast
Pair a white background with black, navy, or saturated solid baskets. Add one bright accent, such as coral or chartreuse, to a portion of the blocks.
Autumn Harvest
Choose warm cream, rust, burgundy, deep gold, olive, and dark brown. A consistent background will unify a wide variety of scraps.
Red and White
A two-color version emphasizes the geometry and works well for holiday projects without requiring novelty Christmas prints.
Small Projects for One or More Blocks
You do not need hundreds of blocks to use this design.
- Frame one basket with borders for a mug rug.
- Use four baskets as the center of a small wall hanging.
- Add generous borders around one block for a pincushion front.
- Arrange three baskets vertically for a narrow door hanging.
- Combine several blocks with plain fabric for a sewing machine cover.
- Place a row of baskets along the edge of a table runner.
Whenever the finished object will be washed frequently, quilt across or near the small pieces to support their many short seams.
Frequently Asked Questions
Is the Bitty Basket suitable for a complete beginner?
A new quilter can attempt it, but practicing standard-size half-square triangles first will make the experience more enjoyable. The techniques are familiar; the miniature scale is the challenging part.
How large should the unfinished block be?
A 4-inch finished block should measure 4 1/2 inches before it is joined to neighboring blocks or sashing. The extra 1/2 inch provides a 1/4-inch seam allowance on all four sides.
Can the block be enlarged?
Do not enlarge only selected pieces. Every component must be recalculated while retaining the 1/4-inch seam allowances. Use a pattern written for the desired finished size or test a complete sample before cutting an entire quilt.
Should the seams be pressed open?
Most short rows can be pressed in alternating directions so their seams nest. Pressing the final bulky joining seam open may help the miniature block lie flatter.
Can directional prints be used?
They can, but the HST method creates mirrored units. If the direction of the print matters, make test units and position them on the design board before cutting all the fabric.
Download the Free Bitty Basket Quilt Block PDF
Ready to make this charming miniature basket? Use the button below to open the complete PDF pattern, then keep this page nearby for extra guidance on accurate half-square triangles, pressing, trimming, and project planning.
Bitty Basket Quilt Block PDF pattern
Pattern Credit
This PDF was originally created and published by Quiltmaker as the February basket block in the 2015 QM Bitty Blocks project. Paula is identified as the original contributor in the published material, and the project used the hashtag #qmbittyblocks.
Easy Quilting Patterns does not claim authorship or ownership of the original pattern, instructions, photographs, or editorial design. All pattern credit and rights remain with the original contributor and publisher. This companion article adds independent preparation, miniature-piecing, pressing, troubleshooting, and project-planning guidance for readers.
Learn More About the Original Project
The basket block discussed on this page was originally part of Quiltmaker’s 2015 QM Bitty Blocks project. You can view Quiltmaker’s introduction to the original project here:
Watch Quiltmaker’s official QM Bitty Blocks introduction
For additional historical context and an example of these miniature baskets used in a scrappy row quilt, see this article by former Quiltmaker staff member Diane Harris:
See QM Bitty Blocks in a finished row-quilt project
The original basket tutorial is an older editorial publication, so its availability on the publisher’s current website may change over time. The credit above should remain visible immediately below the PDF button.
Final Thoughts
The Bitty Basket block proves that a small project can teach important quilting skills. Accurate HSTs, controlled pressing, nested seams, and careful squaring all contribute to a clean result.
Begin with one practice block and write down any seam or trimming adjustment that improves its measurement. Once the setup is consistent, the baskets can be chain pieced in groups and used in everything from a tiny wall hanging to a detailed scrap quilt.