
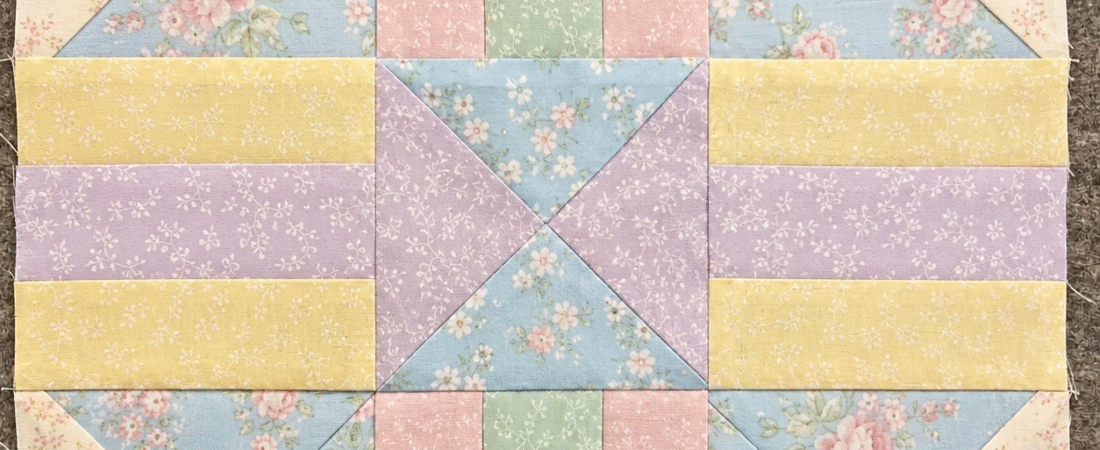
The Crossroads Quilt Block is a striking patchwork design that brings together clean geometry, symmetry, and visual movement. Made with half-square triangles, quarter-square triangles, and simple pieced units, this block creates the impression of different paths meeting in the center.
Designed by Lynne Hagmeier of Kansas Troubles Quilters for Moda Blockheads 6, Crossroads is a wonderful choice for quilters who enjoy traditional blocks with a fresh and versatile appearance.
Although the finished design looks detailed, it is assembled from familiar quilting units. With accurate cutting, careful pressing, and a consistent seam allowance, even a confident beginner can successfully complete this block.
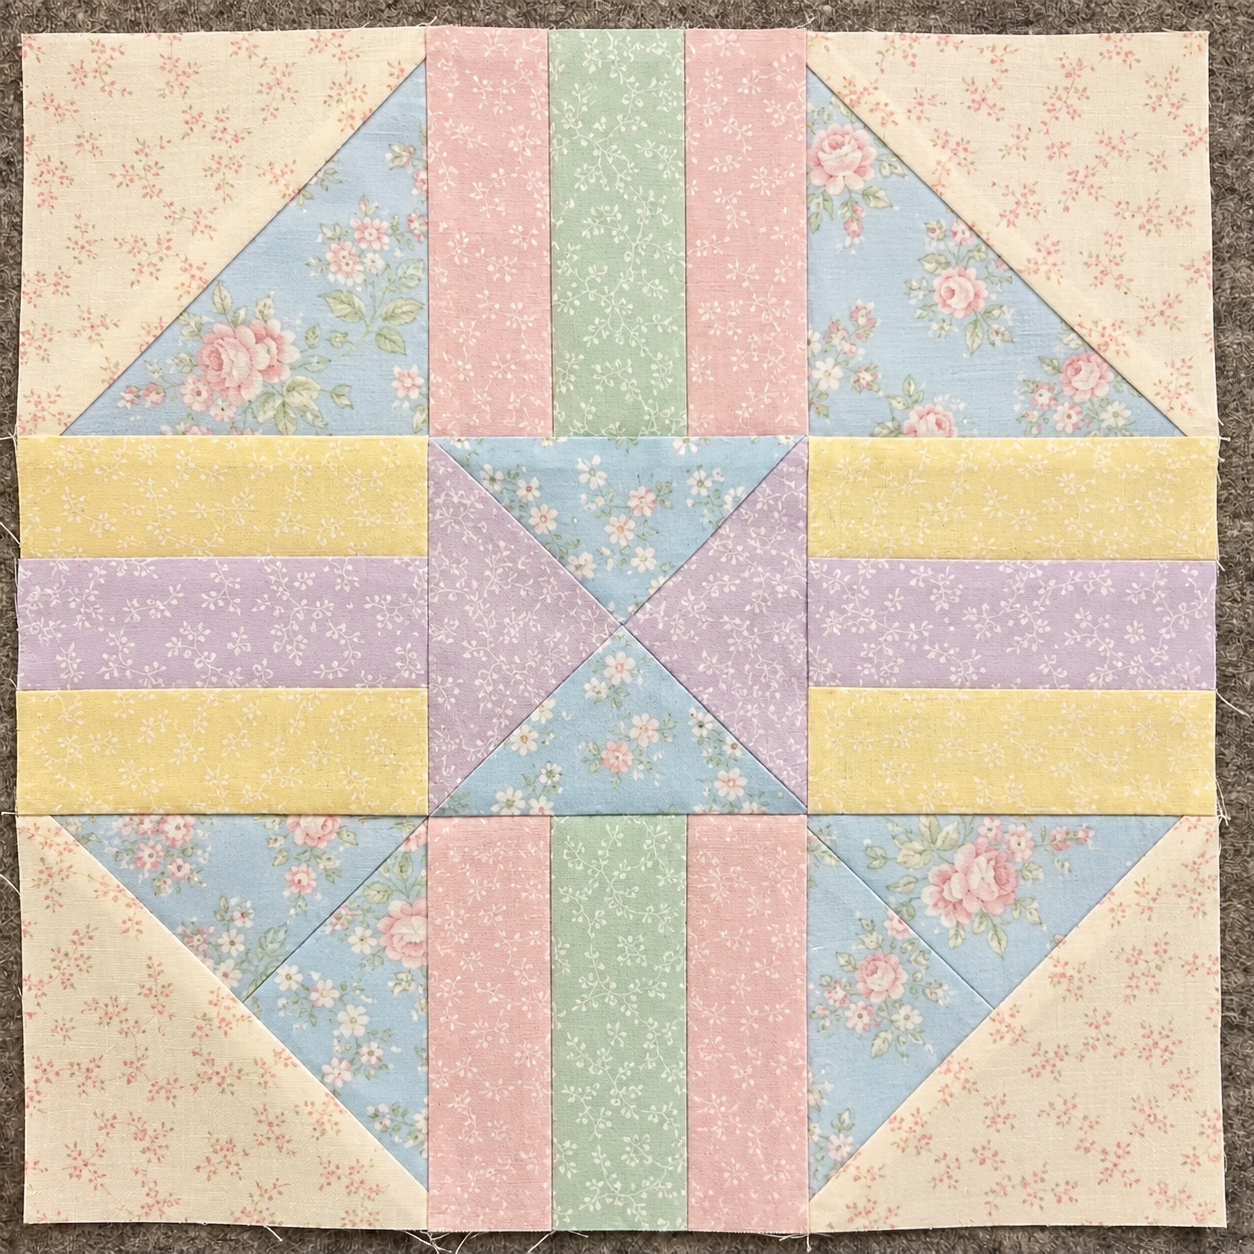
At the end of this article, you can download the free Crossroads Quilt Block PDF, which includes the official cutting measurements, diagrams, two color variations, and printable coloring blocks.
Crossroads Quilt Block Details
- Finished block size: 9″ x 9″
- Unfinished block size: 9 1/2″ x 9 1/2″
- Skill level: Confident beginner to intermediate
- Construction method: Machine piecing
- Main techniques: Half-square triangles, quarter-square triangles, strip-pieced units, and accurate block assembly
- Seam allowance: Scant 1/4″, unless otherwise indicated
The pattern includes two versions identified as Block 2A and Block 2B. Their construction is identical, but they use different fabric labels so the blocks can be coordinated within a larger sampler quilt.
Depending on your planned layout, the background fabrics used in the two versions may be the same.
Materials and Quilting Supplies
Before beginning your Crossroads block, gather the following supplies:
- Three coordinating quilting cotton fabrics
- Neutral or matching sewing thread
- Rotary cutter
- Self-healing cutting mat
- Acrylic quilting ruler
- Fabric-marking pencil
- Sewing machine
- Iron and pressing surface
- Square ruler measuring at least 9 1/2″
- Optional rotating cutting mat
- Optional fine pins or fabric clips
- Optional spray starch
The exact fabric quantities and cutting dimensions are provided in the downloadable PDF.
Abbreviations Used
- HST: Half-Square Triangle
- QST: Quarter-Square Triangle
- RST: Right Sides Together
- WOF: Width of Fabric
Understanding the Crossroads Design
The Crossroads block is organized as a nine-patch grid. Each section finishes at approximately 3″, creating a completed 9″ block.
The four corners contain half-square triangle units that direct the eye toward the center. The middle sections feature narrow pieced strips, while a quarter-square triangle unit forms the central focal point.
When the nine units are arranged together, the lines appear to intersect and continue across the block. This produces the “crossroads” effect that gives the pattern its name.
The design is balanced without feeling static. The diagonal corner units add movement, while the center and side units provide structure.
Choosing Fabrics for the Crossroads Quilt Block
Fabric selection can dramatically change the appearance of this block.
Traditional Combination
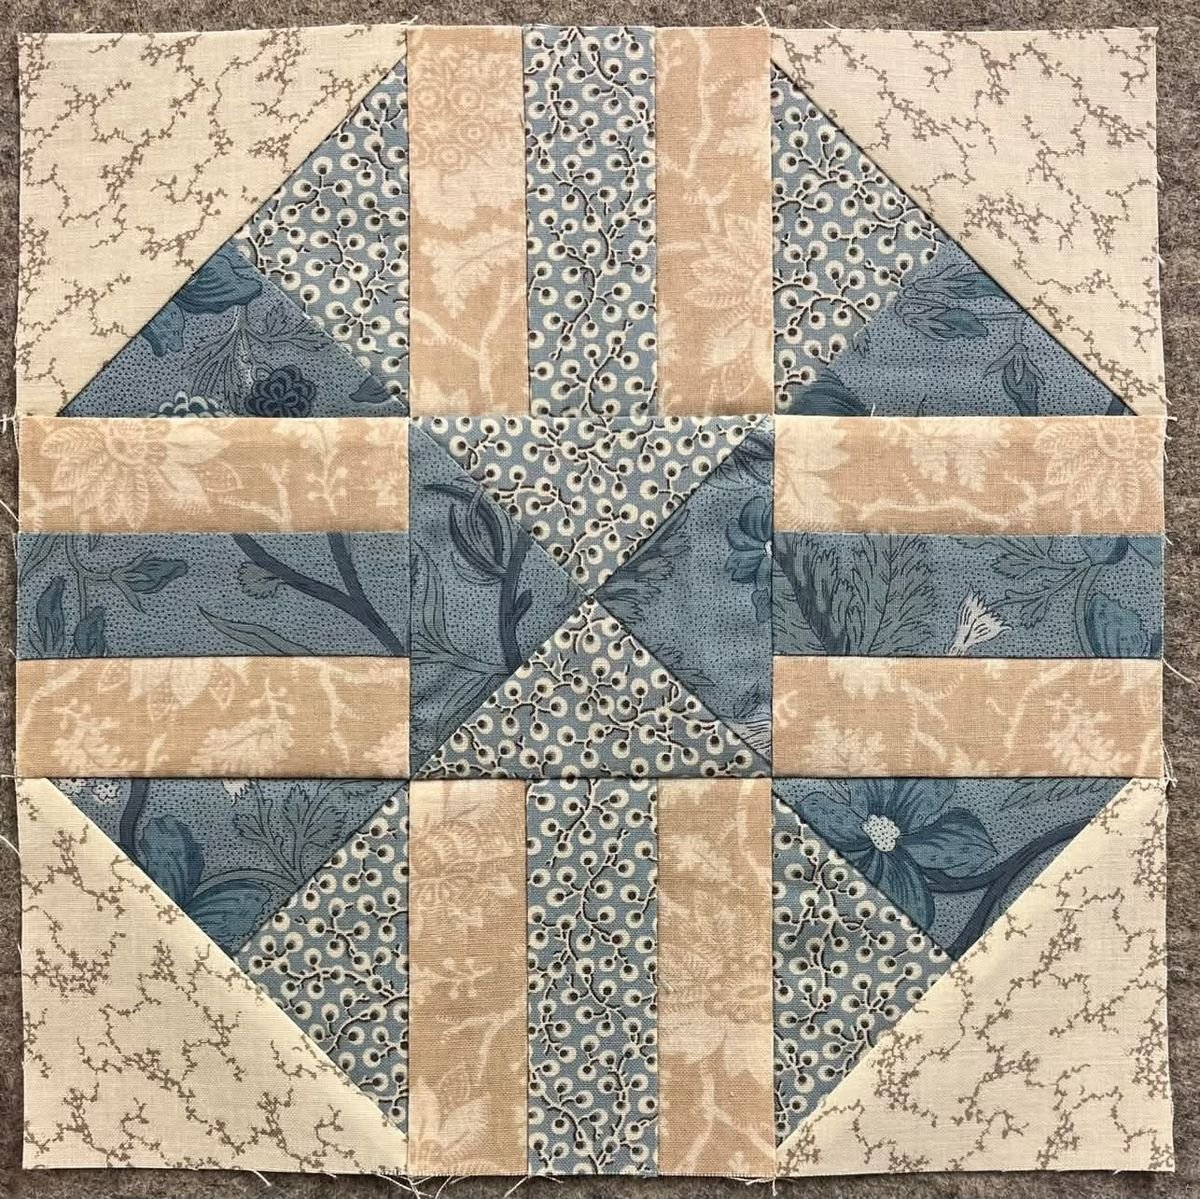
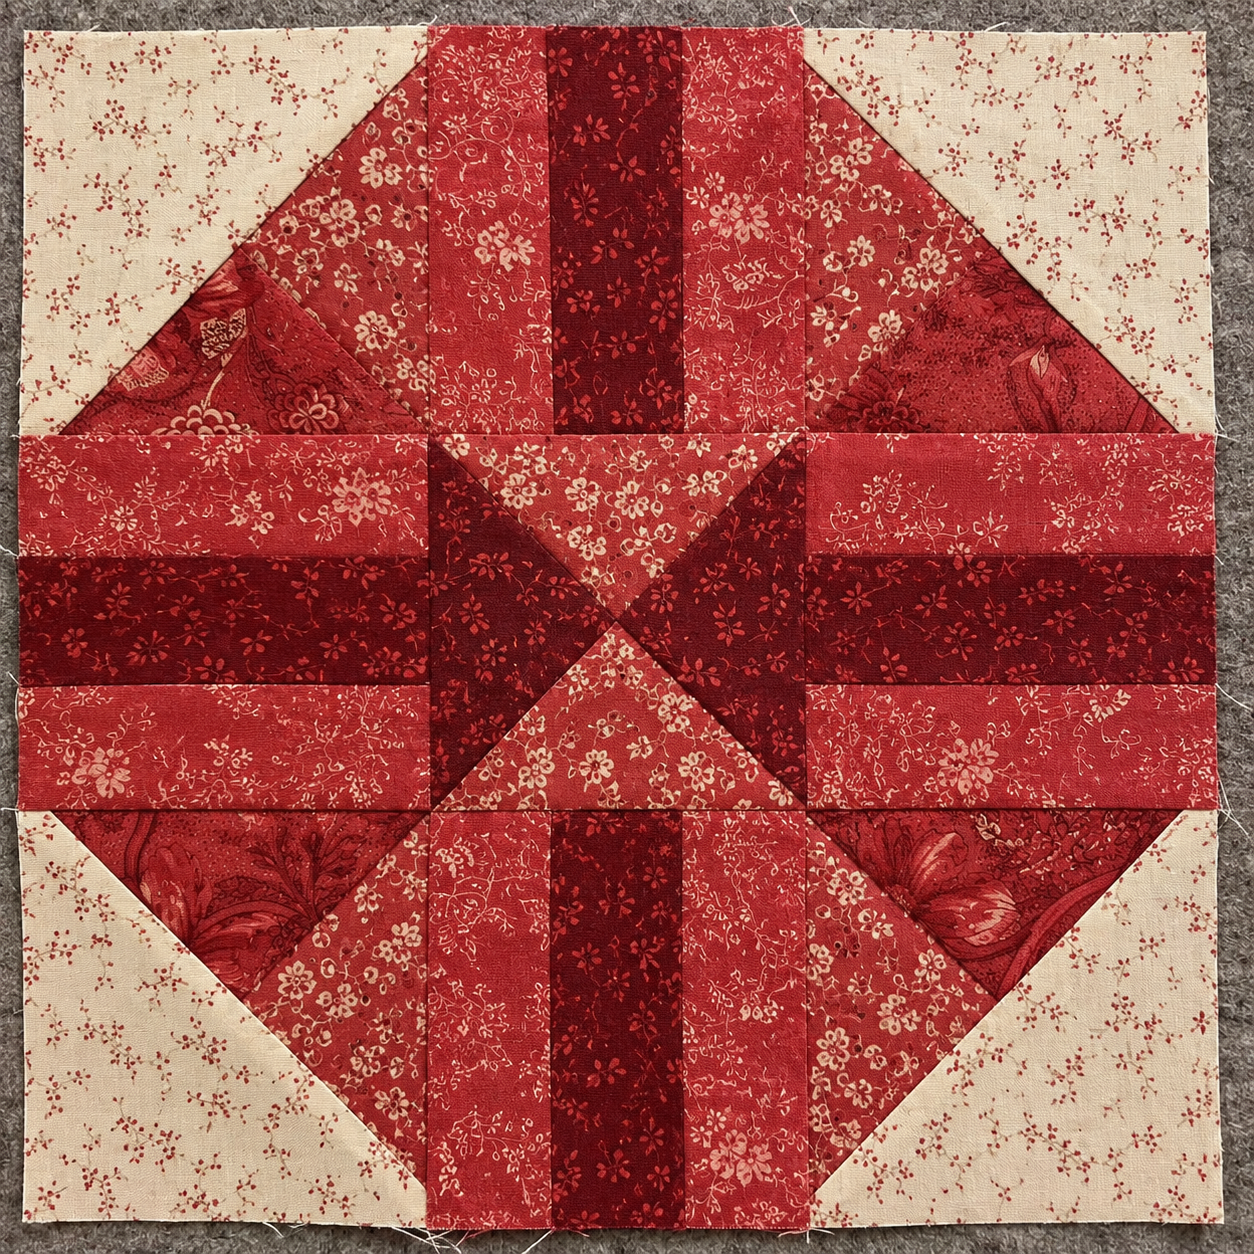
Choose a cream or tan background with deep red, navy, forest green, or brown accents. This creates a warm, traditional look that works beautifully in farmhouse and reproduction-style quilts.
Modern High-Contrast Combination
Pair white, light gray, or black with strong solid colors. Turquoise, orange, mustard, and dark blue can make the geometry appear especially bold.
Scrappy Version
Use assorted scraps for the triangle and center pieces while keeping one consistent background fabric. Repeating the background helps unite the different prints.
Floral Version
A small floral print can be combined with a subtle tone-on-tone background and a coordinating solid fabric. Avoid placing a very large print in the narrow rectangles, since much of the design may disappear inside the seam allowances.
Two-Block Color Arrangement
The PDF provides color placement diagrams for Blocks 2A and 2B. Making both versions is an excellent way to create alternating blocks in a larger quilt while maintaining a coordinated design.
Before cutting your fabric, print or copy one of the coloring diagrams from the PDF. Experimenting with colored pencils can help you see how the fabrics will interact before you begin sewing.
Preparing to Sew
Accuracy is especially important because every section must fit into the final nine-patch arrangement.
Check that your rotary cutter has a sharp blade and confirm the accuracy of your ruler markings. If desired, lightly starch the fabric before cutting. Starch can help reduce stretching along the bias edges of the triangle pieces.
After cutting, organize the pieces by fabric and unit type. Small labeled trays or sticky notes can prevent similar-looking pieces from being accidentally exchanged.
Use the cutting chart in the PDF for all measurements. The official pattern provides separate fabric labels for the two block variations.
How to Make the Crossroads Quilt Block
The following construction overview will help you understand the process. Refer to the free PDF for the complete cutting chart and illustrated diagrams.
Step 1: Make the Half-Square Triangles
Begin by marking a diagonal line on the wrong side of the designated background squares.
Place each marked square RST with its coordinating accent square. Sew a scant 1/4″ seam on both sides of the marked line.
Cut directly along the drawn line to separate the units. Open the triangles and press the seams toward the darker fabric.
Repeat the process until you have four HST units. Carefully trim every HST to 3 1/2″ square.
A square ruler with a diagonal guideline makes this step much easier. Align the ruler’s 45-degree line with the diagonal seam before trimming.
Step 2: Assemble the Pieced Sandwich Units
The side sections of the block are made from narrow rectangles arranged in groups of three.
Place one accent rectangle between two background rectangles. Sew the pieces together lengthwise, keeping the edges aligned.
Press the seams according to the direction that allows the unit to lie flat. Repeat the process to create the required units in both color arrangements.
Trim each completed sandwich unit to 3 1/2″ square.
Measure before trimming to ensure the center strip remains straight and evenly positioned.
Step 3: Construct the Quarter-Square Triangle Center
Arrange four quarter-triangle pieces according to the diagram in the PDF. Two triangles form one color pair, while the remaining triangles form the second pair.
Sew the triangles into pairs first. Press carefully so the bias edges do not become distorted.
Join the two pairs to form the center QST unit. Pinning at the central intersection can help the seam points meet accurately.
Trim the completed QST to 3 1/2″ square, keeping the central intersection correctly positioned.
Step 4: Arrange the Nine Units
Lay out the completed pieces in three rows:
- Four HSTs in the corners
- Four sandwich units at the top, bottom, and sides
- One QST in the center
Compare the arrangement with the pattern diagram before sewing. It is easy to rotate one of the corner units in the wrong direction.
A quick photograph of the correct layout can be useful if the pieces are accidentally moved.
Step 5: Sew the Rows
Join the three units in each row with a scant 1/4″ seam allowance.
Press the seams in alternating directions whenever possible. This allows the seams to nest when the rows are joined and makes it easier to match the intersections.
Measure each completed row before proceeding. All three rows should have the same length.
Step 6: Complete the Block
Join the three rows, matching the vertical seams carefully. Pin at the intersections and sew slowly over bulky seam areas.
Press the finished block from the front and back without stretching it.
The completed block should measure 9 1/2″ square before it is sewn into a quilt. It will finish at 9″ square after the surrounding seam allowances are used.
Download the Free Crossroads Quilt Block PDF
The complete three-page PDF includes the official cutting chart, illustrated piecing instructions, fabric-placement diagrams, and additional coloring blocks.
Pattern credit: Crossroads by Lynne Hagmeier of Kansas Troubles Quilters, featured in Moda Blockheads 6.
DOWNLOAD THE FREE CROSSROADS QUILT BLOCK PDF
The Crossroads Quilt Block is an engaging project that combines classic quilting techniques with a design full of movement. Its mixture of triangles and narrow pieced strips creates a detailed appearance while relying on a manageable nine-patch construction.
Take time to trim every unit, protect the bias edges, and confirm the placement before joining the rows. These small habits will help you produce crisp points, straight strips, and a beautifully square finished block.
Once you have completed your first Crossroads block, experiment with new color combinations or make the second variation. The changing fabric placement can give the same geometric design a completely different personality.