
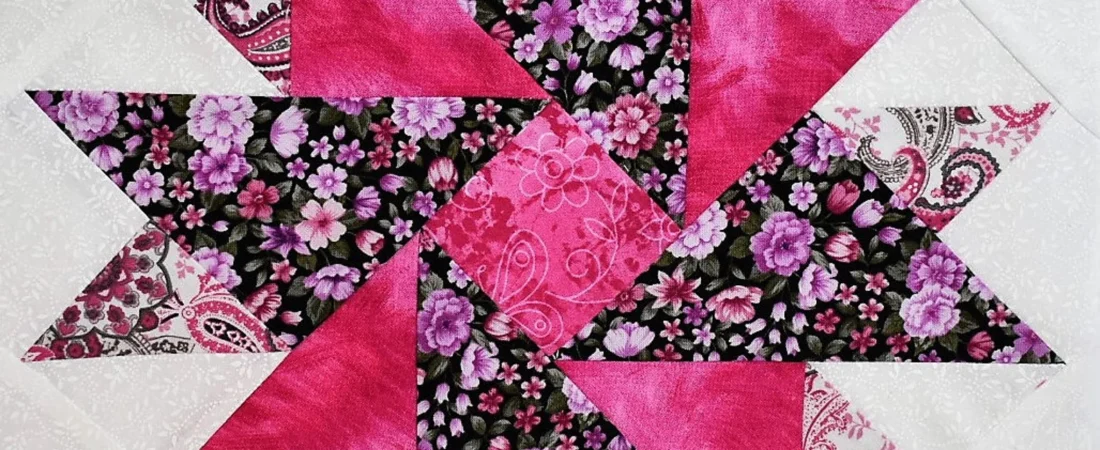
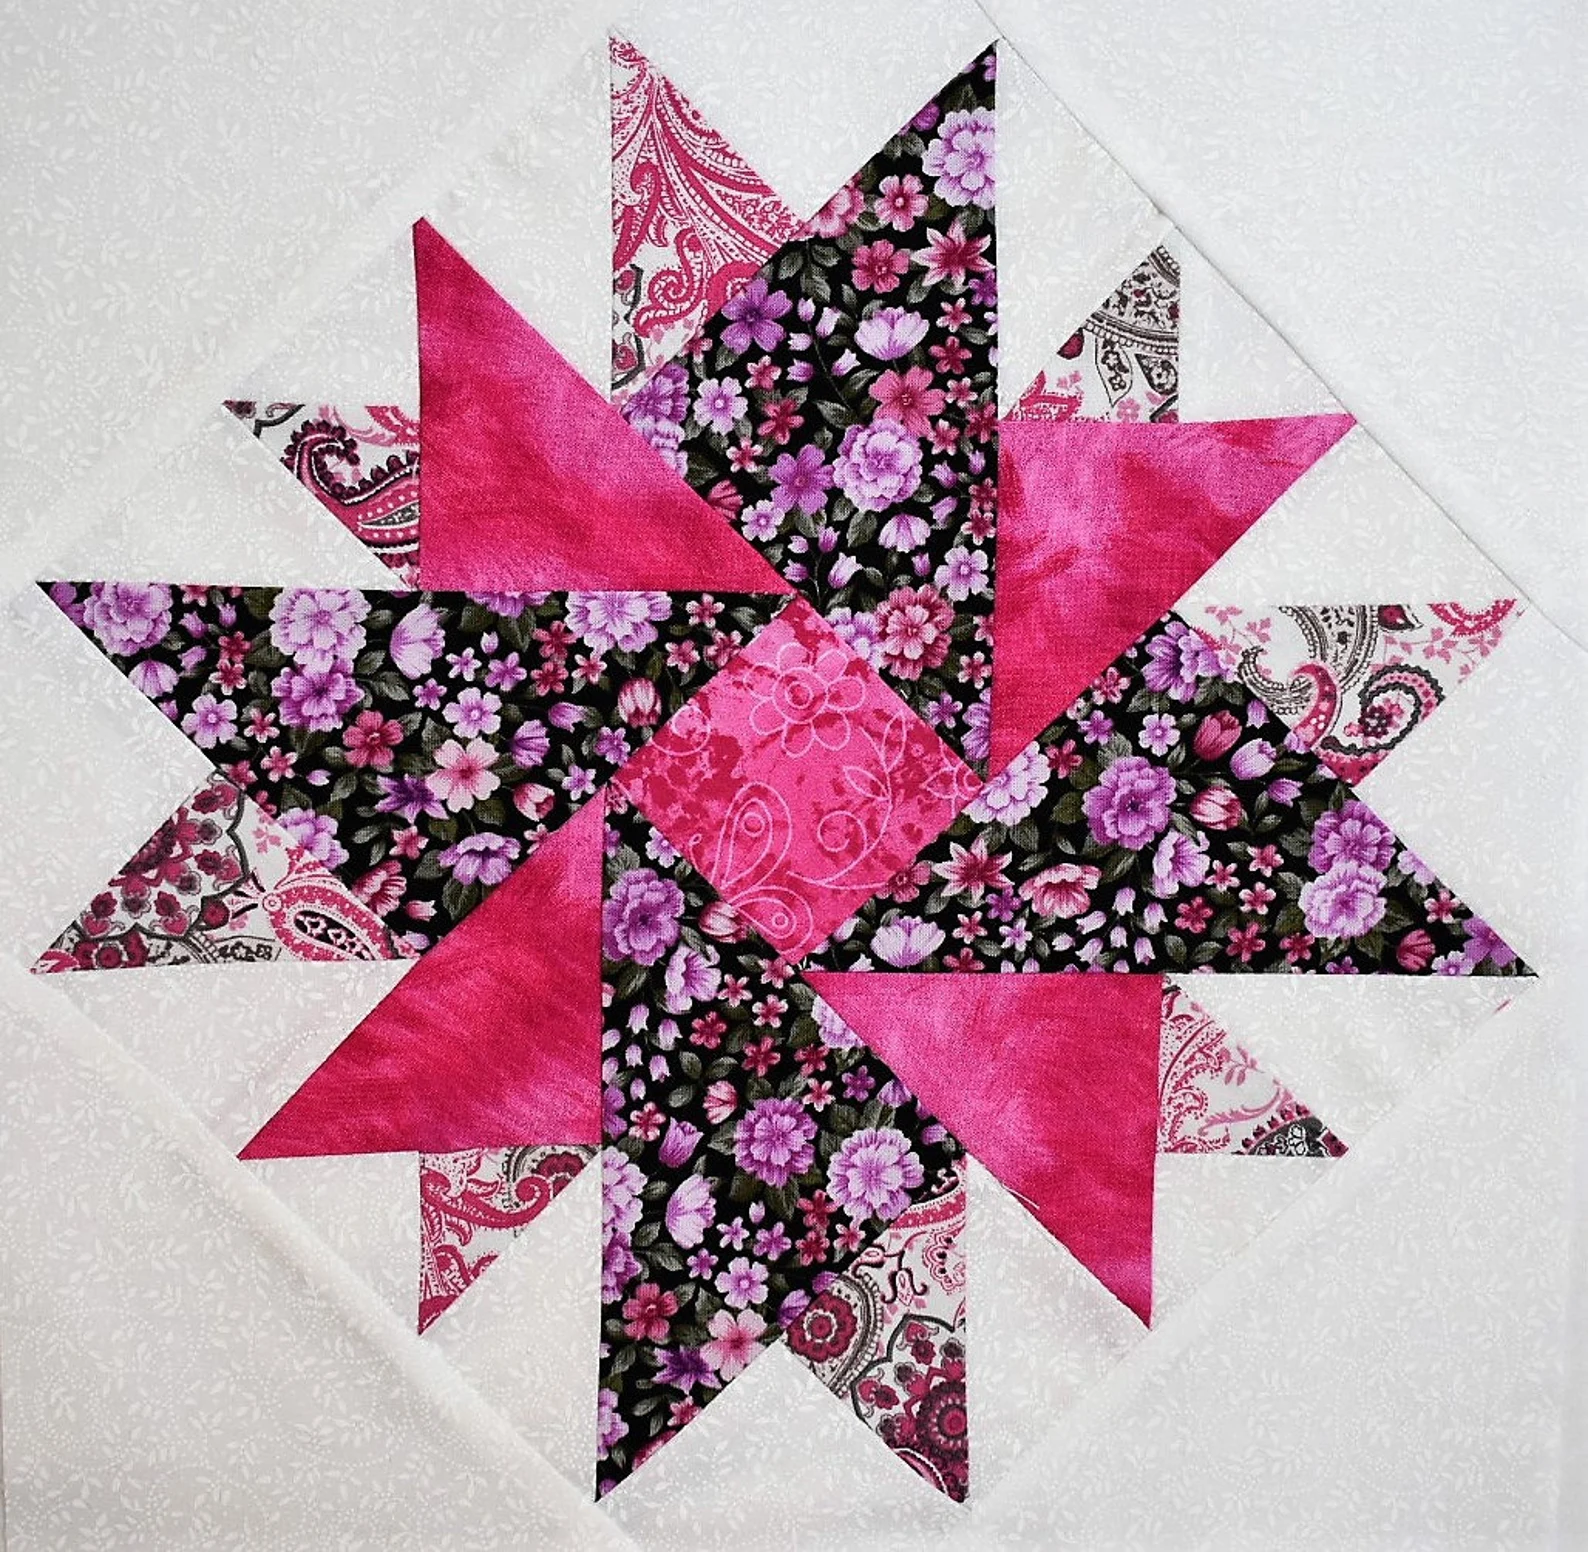
The Double Aster block is a striking patchwork design that combines the movement of a star with the layered appearance of flower petals. Its repeated triangular sections create a strong focal point, while the center square keeps the design balanced. It is a rewarding choice for quilters who want to practice accurate triangle piecing, careful pressing, and point matching.
This guide is designed as a practical companion to the original Double Aster pattern. It explains how to prepare your fabrics, organize the pieces, assemble the block successfully, and correct common problems without reproducing the designer’s pattern or graphics.
Double Aster Block at a Glance
- Finished block size: 12 inches when following the original Quilter’s Cache pattern
- Unfinished block size: Approximately 12 1/2 inches before joining it to a quilt
- Skill level: Confident beginner to intermediate
- Main techniques: Triangle piecing, partial seams, point matching, and squaring
- Recommended seam allowance: Scant 1/4 inch
- Fabric selection: Four contrasting quilting cottons
The block contains several triangle sizes, so organization is just as important as accurate sewing. Read the complete pattern before cutting and keep each group of pieces labeled throughout construction.
Materials and Tools
Gather the following supplies before beginning:
- Four coordinating quilting cottons
- The cutting measurements from the original Double Aster pattern
- Rotary cutter and cutting mat
- Acrylic quilting ruler
- Sewing machine with a reliable 1/4-inch foot
- Fine cotton thread in a neutral color
- Iron and pressing surface
- Straight pins or fine quilting clips
- Removable fabric marker
- Small labels or sticky notes
- Square ruler at least 12 1/2 inches wide
Prewash all fabrics or use them unwashed consistently. Mixing prewashed and unwashed fabrics in the same block can produce uneven shrinkage later.
Choosing Fabrics That Show the Design Clearly
The Double Aster depends on contrast. Four beautiful fabrics can still disappear into one another if their values are too similar.
Assign a specific job to each fabric:
- Background fabric: Frames the design and creates breathing room around the points.
- Main petal fabric: Forms the largest visual shape and should be easy to distinguish from the background.
- Accent fabric: Adds a second layer of color to the star or flower effect.
- Dark contrast fabric: Defines the smaller triangles and gives the block depth.
Take a photograph of the fabrics and view it in black and white. If all four appear nearly the same shade of gray, replace at least one with a lighter or darker option. This simple value check is often more useful than comparing colors by eye.
Small prints, tone-on-tone fabrics, and solids are easier to use in the narrow points than large directional prints. Save a large or special motif for the center only if the pattern placement will remain visible after the seam allowances are sewn.
Preparation Before Cutting
Triangle-heavy blocks are less forgiving than basic square patchwork. A few minutes of preparation can prevent most assembly problems.
- Test your scant 1/4-inch seam on scrap fabric.
- Press the fabrics before measuring them.
- Replace a dull rotary blade that pulls or shifts the fabric.
- Cut one fabric group at a time.
- Label every group immediately with its color role and size.
- Keep mirror-image units together so they are not accidentally reversed.
- Avoid stretching newly cut bias edges.
A scant 1/4-inch seam is slightly narrower than a full 1/4 inch. The small difference allows room for the thread and the fold created when a seam is pressed open or to one side.
How the Double Aster Block Is Assembled
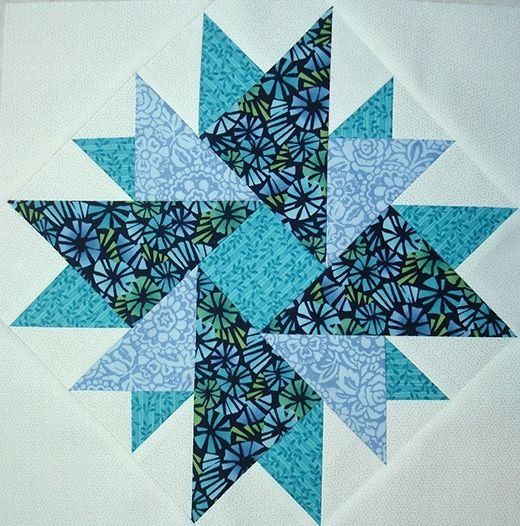
The block is easier to understand when divided into repeated sections. Instead of thinking about the entire design at once, construct four matching units and rotate them around the center.
Step 1: Label the Cut Pieces
Use the original cutting instructions to prepare the four fabric groups. Place each triangle size in a separate labeled pile. Do not rely only on visual comparison: two sizes may look almost identical until they are placed at the sewing machine.
Lay the pieces on a table in the shape of one completed quarter-section before sewing. This preview confirms the color order and orientation.
Step 2: Begin With the Small Triangle Pairs
Match the small triangles that form the innermost pieced sections. Place the fabrics right sides together and align the straight edges without pulling the bias edges.
Sew four identical units with a scant 1/4-inch seam. Before opening them, press the stitched units flat to set the seams. Then open and press gently. Use the tip or edge of the iron instead of sliding it across the triangles.
Check that all four units are mirror images of the same arrangement, not two pairs facing opposite directions.
Step 3: Enlarge the First Set of Units
Add the next triangle specified by the pattern to each small pieced section. Align the ends that will become the outer edge of the unit, allowing any necessary triangle tips to extend beyond the seam.
After sewing, press and compare the four units. Their outer edges should match one another. Trim only the small dog-ear extensions; avoid reducing the usable seam allowance around the points.
Add the contrasting triangle that completes this first group of four units. Keep the same orientation for every copy.
Step 4: Construct the Second Set of Pieced Units
Build the larger triangle sections in the same order: join the first pair, press, and then add the next triangle. Centering matters here. Fold the long edge of a larger triangle gently in half and finger-crease the midpoint. Match that mark with the center seam of the pieced unit before pinning.
This center-matching technique distributes the extra triangle tips evenly and helps the finished points meet in the correct position.
Step 5: Join the Sections Into Four Matching Quarters
Pair one unit from the first group with one unit from the second group. Arrange all four pairs on the table before sewing so the colors turn in the same direction.
Pin at important seam intersections first, and then align the remaining raw edges. Sew the four quarter-sections and press them consistently. If several seams will meet later, test whether pressing open reduces bulk more effectively than pressing to one side.
Step 6: Assemble the Units Around the Center
Arrange the four completed sections around the center square. Step back or take a photograph before sewing. The design should rotate evenly, with the same fabric appearing in the same position in every quarter.
The center can be assembled with a partial-seam method:
- Attach the center square to the first section, but leave the beginning of that seam unsewn.
- Rotate the work and attach the second section.
- Continue with the third and fourth sections.
- Return to the unfinished portion of the first seam and complete it.
This method allows the sections to wrap around the center without forcing a bulky Y-seam. Backstitch lightly where the partial seam begins so it does not open while the block is rotated.
Step 7: Add the Outer Corner Triangles
Fold each large corner triangle along its long edge to mark the midpoint. Mark the midpoint of the matching block edge as well. Align the center marks, pin outward from the middle, and sew without stretching.
Press the corners carefully. The block may look slightly oversized or uneven before all four corners are attached, so wait until the full design is assembled before making final corrections.
Step 8: Square the Block
Place the block on a large square ruler. Confirm that the center is positioned correctly and that a full 1/4-inch seam allowance remains beyond the outer points.
Trim a small amount from opposite sides rather than removing all excess from one edge. When following the original 12-inch pattern, the block should measure about 12 1/2 inches unfinished. Do not force it to that measurement by cutting away points. If it is significantly small, first check the seam allowance and pressing before trimming.

Pressing for Flatter, Sharper Points
Good pressing is different from ironing. Ironing moves the tool back and forth, which can distort bias edges. Pressing lowers and lifts the iron while the fabric remains in place.
For better results:
- Set each seam before opening it.
- Use little or no steam on exposed bias edges.
- Support the unit completely on the pressing surface.
- Press in the same direction on all four repeated units.
- Use a tailor’s clapper if bulky intersections refuse to lie flat.
- Let the block cool on a flat surface before measuring it.
If a point is slightly imperfect, avoid repeatedly pulling out short seams. Decide whether the difference will be visible after the final 1/4-inch joining seam is added.
Troubleshooting Common Problems
The block finishes too small
The most common cause is a seam allowance that is wider than a scant 1/4 inch. Make a test unit from scraps, press it exactly as you will press the block, and measure it before continuing.
Triangle edges become wavy
Bias edges were probably stretched during cutting, sewing, or pressing. Handle them by supporting the entire unit, shorten the stitch length slightly, and avoid pulling the fabric behind the presser foot.
Points are cut off
Check for a visible 1/4-inch gap between the tip of each point and the raw outer edge before sewing the next seam. Pin through the exact intersection where the point should meet.
The four sections do not rotate correctly
One or more units may have been reversed. Keep a reference photograph beside the sewing machine and return every finished unit to the design wall in the same orientation.
The center is bulky
Press the final seams open if the fabric and stitch length allow it. A small pressing tool can reach the center more precisely than a large iron.
Planning a Quilt With 12-Inch Finished Blocks
The following dimensions use 12-inch finished Double Aster blocks and do not include sashing, borders, or binding.
| Layout | Number of Blocks | Approximate Size |
|---|---|---|
| 3 × 3 | 9 | 36 × 36 inches |
| 4 × 4 | 16 | 48 × 48 inches |
| 4 × 5 | 20 | 48 × 60 inches |
| 5 × 6 | 30 | 60 × 72 inches |
| 6 × 7 | 42 | 72 × 84 inches |
For a calmer design, alternate Double Aster blocks with plain 12-inch squares. Sashing also gives the star points more visual space and makes small variations between blocks less noticeable.
Project Ideas
A single block can become a pillow front or a small wall hanging. Three or four blocks make a dramatic table runner. For a full quilt, try one of these arrangements:
- Use the same four fabrics in every block for a formal repeat.
- Keep one background fabric and make the petals scrappy.
- Rotate between warm and cool color combinations.
- Add narrow sashing with contrasting cornerstones.
- Place one Double Aster in the center of a medallion quilt.
When using scrappy fabrics, preserve the value placement even when the colors change. Consistent light, medium, and dark positions keep the design recognizable across the quilt.
Frequently Asked Questions
Is the Double Aster block suitable for beginners?
It is best for a confident beginner who already understands a scant 1/4-inch seam and basic triangle piecing. Making one practice block from inexpensive fabric is recommended before cutting a complete quilt.
Does the block require a Y-seam?
The center can be assembled with a partial seam, avoiding a traditional Y-seam. Read through that sequence before beginning so the first seam is not sewn completely by mistake.
Can I resize the pattern?
Resizing a block with several triangle dimensions can affect seam allowances and point placement. Use measurements created specifically for the desired size rather than enlarging or reducing only one piece.
Should seams be pressed open or to one side?
Either method can work. Pressing to one side is traditional and can strengthen the seam, while pressing open may reduce bulk at the center. Whichever method you choose, apply it consistently to all four repeated units.
View the Original Double Aster Pattern
The original Double Aster instructions and construction graphics are available from Marcia Hohn at The Quilter’s Cache:
Pattern instructions and graphics belong to their respective creator. Easy Quilting Patterns does not host or redistribute the original pattern file. This page provides independent preparation, piecing, pressing, troubleshooting, and project-planning guidance to use alongside the authorized source.
Final Thoughts
The Double Aster is not the fastest block to piece, but its repeated construction makes the process easier after the first quarter-section. Accurate labeling, gentle handling of bias edges, and consistent pressing contribute more to the result than sewing quickly.
Begin with one practice block, inspect the center and outer points, and record any seam adjustment before starting the remaining blocks. With a reliable setup, the Double Aster can become the focal point of a pillow, runner, wall quilt, or full-size patchwork project.